
Vinyl plank flooring looks best when it’s installed with care — and one of the most important parts of that process is getting the stagger right. Staggering simply means offsetting the end joints between neighbouring rows so that no two joints sit next to each other or line up in an obvious pattern. Done well, a staggered layout creates the kind of natural, varied appearance you’d expect from real timber flooring. Done poorly, it can make a brand-new floor look mechanical and repetitive.
Staggering is not purely a visual consideration, though. In floating click-lock systems, inadequate stagger concentrates mechanical stress along shared seam lines. Under foot traffic, that stress can work the click joints loose over time, leading to joints that unlock, peak, or gap. Properly distributed end joints spread that load across the floor, which is why most manufacturers specify a minimum stagger as part of the installation requirements — not just as a style guide.
Beyond appearance and structural performance, properly staggered joints also help distribute the layout evenly across the room, avoiding problematic concentrations of seams in a single area. The exact minimum stagger can vary significantly between products — some manufacturers specify a minimum offset of 150 mm, others require more — so the manufacturer’s installation instructions should always be the first thing you read before you start cutting or laying.
At Award Carpets Gold Coast, we stock a range of vinyl plank flooring options to suit different rooms, budgets, and lifestyles. Whether you’re renovating a family home or refreshing a rental property, knowing how to lay vinyl plank flooring correctly — including how to stagger the joints — will make a real difference to the finished result.
So, how do you stagger vinyl plank flooring correctly? Let’s walk through everything you need to know.
What Does It Mean to Stagger Vinyl Plank Flooring?
Staggering vinyl plank flooring refers to the practice of offsetting the end joints between each row of planks so that no two joints in adjacent rows sit directly beside each other or form a continuous straight line across the floor.
An end joint is the short edge where one plank meets the next along the length of a row. Every time you start a new row, the position of that first join — and every join along the row — is determined by the length of your starting plank. If you start every row with the same length of plank, all your end joints will line up in the same position, creating an obvious grid-like pattern.
Staggered vinyl plank installation means deliberately varying those starting lengths so that each row begins at a different point. The end joints in adjacent rows are offset from each other by a meaningful distance, which breaks up any predictable pattern and creates a far more natural-looking result.
The difference between a properly staggered floor and one with aligned joints is significant. Aligned joints draw the eye straight to the seams. A well-staggered floor, by contrast, lets the plank surface and design take centre stage — which is particularly important for timber-look vinyl planks, where the goal is to replicate the natural variation found in real hardwood floors.
Why Is It Important to Stagger Vinyl Plank Flooring?
Creates a More Natural Timber-Look Appearance
One of the main reasons people choose timber-look vinyl planks is the visual appeal of natural wood. In real timber flooring, boards are cut from different sections of the tree and laid in a way that naturally varies the position of end joints. No two boards are the same length, and the joins land at different points along the floor.
Staggered vinyl plank installation replicates this effect. When end joints are distributed at different points across adjacent rows, the eye reads the floor as a cohesive surface rather than a series of identical panels. The plank design, colour variation, and embossed texture become the focus rather than the joints.
Repetitive joint patterns, on the other hand, can make the floor look artificial — exactly the opposite of the natural timber look most people are trying to achieve.
Helps Prevent Obvious Joint Patterns
Even if individual planks look great, a poorly planned layout can create joint patterns that become distracting once the floor is complete. The most common problem patterns include aligned joints (where end joints in adjacent rows sit directly beside each other), H-joints (where joints in rows one and three line up while row two sits between them), and stair-step patterns (where joints move by the same distance each row, creating a diagonal line).
All of these patterns share a common cause: a lack of variation in the starting plank length from row to row. Distributing end joints throughout the room — varying their position in each row — is the most effective way to avoid these issues.
Supports the Structural Performance of Click-Lock Systems
For floating click-lock vinyl plank flooring, staggering is not just an aesthetic choice — it has a direct effect on how the floor performs over time. When end joints in adjacent rows align, they create a continuous stress line running across the floor. Every step taken near that line loads the same joints repeatedly, which can cause the locking profiles to work loose, resulting in joints that unlock, peak, or gap.
Distributing end joints at different positions across adjacent rows ensures that foot traffic loads are spread more evenly through the floor rather than concentrating along a single line. This is one of the core reasons why manufacturers of click-lock systems specify a minimum stagger distance in their installation requirements.
Creates a More Professional-Looking Finish
Careful joint placement is one of the clearest signs of a well-executed floor installation. Planning where your end joints land before you start cutting is just as important as the cutting and laying itself. Experienced installers often plan the first several rows before they touch a saw, checking that the joint positions look natural and that no patterns are forming.
Rushing through this planning stage is one of the most common reasons a finished floor looks less polished than expected. Taking time to map out your stagger before you start pays off every time you look at the floor.
How Much Should You Stagger Vinyl Plank Flooring?
There is no single stagger measurement that applies to every vinyl plank product on the market. Different products have different plank dimensions, different locking systems, and different installation requirements — and the minimum stagger distance specified by the manufacturer reflects those specifics.
This is why following the manufacturer’s installation instructions matters so much. Applying a generic rule — such as “always stagger by 150 mm” — without checking whether it actually applies to your product could result in a layout that doesn’t meet the product’s requirements, and potentially affects your warranty.
If the instructions for a particular product specify a minimum stagger of 200 mm, then 150 mm isn’t enough, regardless of how widely that figure is quoted elsewhere. Always start with the documentation that came with your specific product.
What Is the Minimum Stagger?
The minimum stagger refers to the shortest allowable distance between the end joints of planks in adjacent rows. It is measured from the end joint in one row to the nearest end joint in the neighbouring row — not from the start of the plank.
For example, if a manufacturer specifies a minimum stagger of 150 mm, then the end of a plank in row two must be at least 150 mm away (measured along the length of the floor) from the nearest end joint in rows one and three.
It’s worth noting that the minimum stagger is different from the minimum starting plank length. Some products also specify a minimum length for the starting or finishing plank in any given row — for example, requiring that no piece be shorter than 300 mm. Check both requirements in the manufacturer’s instructions before you begin.
Why the Manufacturer’s Installation Instructions Matter
Vinyl plank flooring covers a wide range of products, and they’re not all the same. LVP and LVT flooring products differ in plank dimensions, wear layer thickness, core construction, locking or adhesive systems, and installation requirements. What works for one product won’t necessarily be appropriate for another.
Following the wrong installation pattern — including the wrong stagger — can affect the finished appearance of the floor and may conflict with the product’s warranty conditions. If you’re uncertain about any installation requirement, it’s always worth contacting the supplier or manufacturer directly before you start.
Common Vinyl Plank Stagger Patterns
Random Stagger
A random stagger is exactly what it sounds like: varying the starting plank length from row to row without following a fixed pattern. The goal is to distribute end joints unevenly throughout the floor so that no two adjacent rows share a joint position and no predictable diagonal or repetitive pattern develops.
This approach tends to produce the most natural-looking result for timber-look vinyl planks, because it mirrors the way real timber flooring behaves — no two rows start at exactly the same point, and the joints land at different positions across the room.
It’s important to understand that “random” doesn’t mean ignoring minimum spacing requirements. A random stagger still needs to respect the manufacturer’s minimum joint offset. The variation is in the position of the joints, not in whether the minimum offset is maintained.
1/3 Stagger Pattern
A 1/3 stagger pattern involves offsetting each successive row by one third of the plank length. If a plank is 1200 mm long, for example, row two starts at 400 mm, row three starts at 800 mm, and row four starts at 1200 mm (or zero, beginning a new cycle).
This creates a consistent, structured layout with a degree of variation between rows. However, with longer planks, a 1/3 offset can sometimes result in end joints that appear in a regular diagonal pattern — which may look more uniform than a true random stagger. Whether a 1/3 pattern is appropriate depends on the product and what the manufacturer’s installation instructions permit.
1/2 or Brick Pattern
The 1/2 or brick pattern offsets every second row by exactly half a plank length — similar to the way bricks are laid in a wall. In a 1200 mm plank, row two starts at 600 mm, row three starts at 1200 mm (back to the beginning), and so on.
This creates a symmetrical, uniform appearance that some people find visually appealing. However, it’s worth being aware that many click-lock LVP manufacturers explicitly prohibit a 1/2 brick layout in their installation instructions. The reason is structural as well as aesthetic: a strict 1/2 offset causes the end joints in rows one, three, five, and so on to align with each other, and the same happens in the even-numbered rows. This creates two continuous stress lines running the length of the floor — exactly the concentrated joint loading that proper staggering is designed to prevent. Under regular foot traffic, this can cause the click joints along those lines to unlock, peak, or gap over time.
Before planning a 1/2 brick layout, check the installation guide for your specific product. If the instructions prohibit it or don’t explicitly list it as a permitted pattern, don’t use it — regardless of how it looks. For products where it is permitted, monitor joint alignment carefully and confirm the layout doesn’t produce H-joints within your room dimensions.
H-Joint Pattern
An H-joint occurs when the end joints in rows one and three (or two and four) sit directly above each other, with row two sitting between them. When viewed from above, the joints form an H shape — a parallel pair of vertical lines with a horizontal one between them.
This is generally regarded as one of the less desirable patterns because it creates a noticeably repetitive appearance across the floor. Whether the manufacturer’s installation instructions prohibit it outright or simply discourage it varies between products, but it’s a pattern worth actively avoiding when planning your layout.
Stair-Step Pattern
A stair-step pattern develops when each successive row is offset by the same fixed distance — for example, always starting 200 mm further along than the row before it. Over several rows, this creates a consistent diagonal line of end joints running across the floor, which the eye quickly picks up as an artificial pattern.
Stair-step patterns are usually the result of using offcuts mechanically — taking the leftover piece from the end of one row and using it to start the next without first checking whether it creates an obvious diagonal. Actively varying your starting lengths is the simplest way to prevent this.
How to Stagger Vinyl Plank Flooring Step by Step
Step 1 – Read the Flooring Manufacturer’s Instructions
Before you do anything else, identify the exact vinyl plank product you’re installing and locate the installation instructions. Check the following:
- The recommended minimum stagger (the minimum offset between end joints in adjacent rows)
- The minimum starting or finishing plank length (some products require pieces to be no shorter than a specified length)
- The installation method — whether the product is a floating click system or requires direct adhesive
- Subfloor requirements — flatness tolerances, moisture limits, and acceptable subfloor types
- Acclimatisation requirements — whether the product needs time to adjust to the room’s temperature and humidity before installation
These details vary between products, and getting them right at the start will save time and frustration later.
Step 2 – Measure the Room
Measure the length and width of the room, and note any doorways, hallways, alcoves, or irregularly shaped areas that will affect the layout. Determine which direction you want to run the planks — typically parallel to the longest wall or the primary source of natural light, though the product instructions may also offer guidance.
Consider the final width of the last row before you start. If the last row will be very narrow — less than half a plank width — adjust the starting position of the first row so that the first and last rows are more evenly balanced.
Step 3 – Plan the First Few Rows
Don’t simply start laying one row at a time and work it out as you go. Before cutting anything, map out the starting lengths of the first several rows on paper or with chalk lines on the subfloor. Check that no end joints in adjacent rows will line up, and look for any signs of repetitive patterns forming — diagonal lines, H-joints, or stair steps.
Planning ahead at this stage is far easier than pulling up planks and starting again once a problem becomes visible.
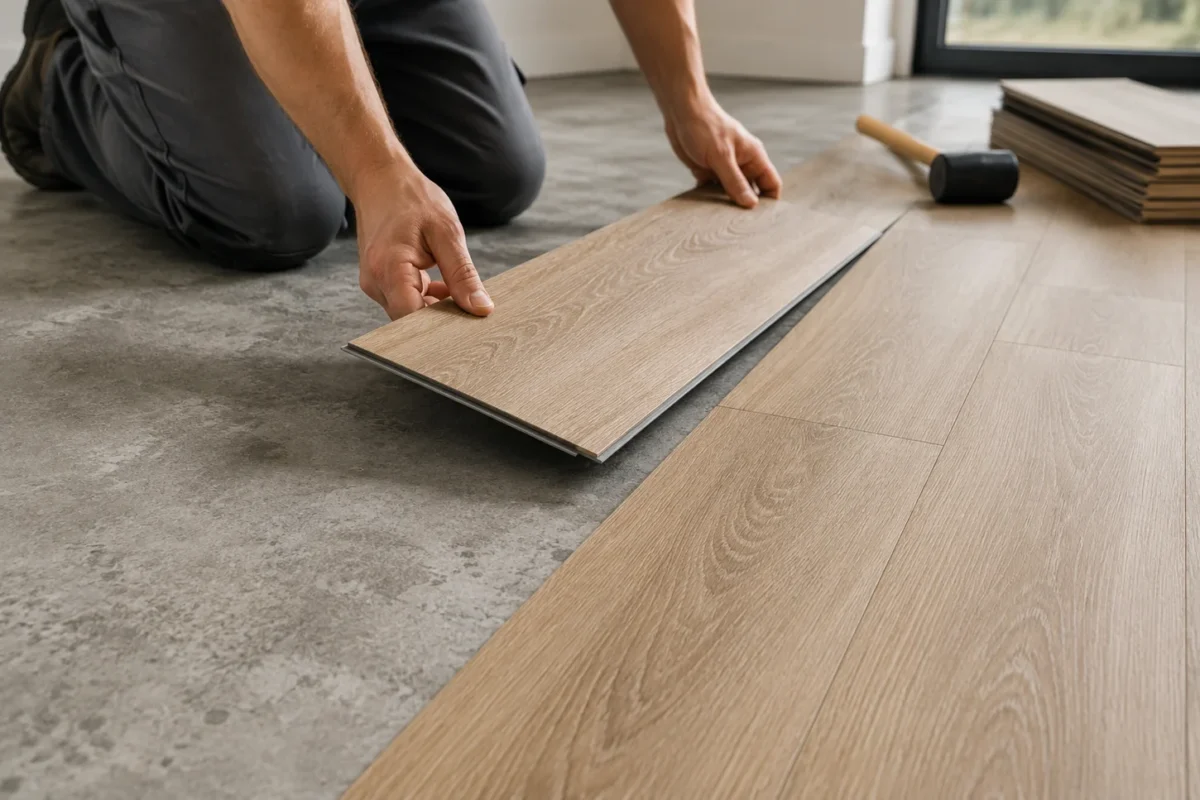
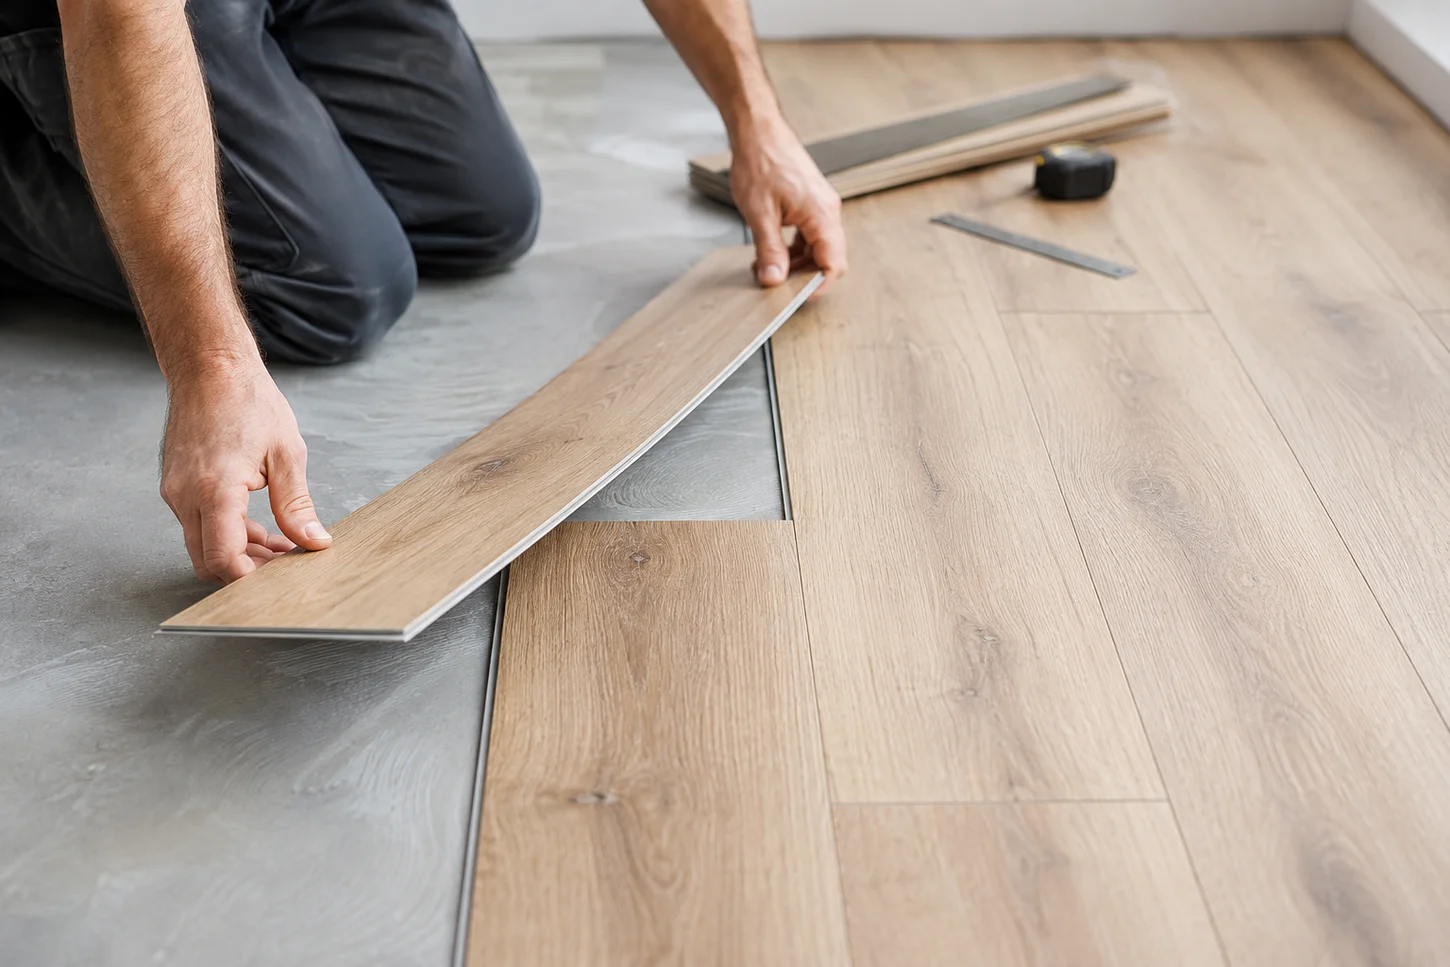
Step 4 – Install the First Row
Establish a straight starting line along the wall, parallel to the direction you’ve chosen for the planks. Snap a chalk line if needed. Follow the product-specific installation method — for click systems, make sure the groove or tongue is oriented correctly; for direct-stick products, follow the adhesive application instructions.
Maintain any required perimeter clearances (expansion gaps) as specified in the manufacturer’s instructions. Make sure this first row is accurately aligned, as any deviation here will affect every row that follows.
Step 5 – Start the Second Row With the Correct Stagger
Choose a starting plank length that meets the minimum stagger requirement relative to the first row. If an offcut from the first row is long enough to satisfy the minimum offset and the minimum piece length requirements, it can potentially be reused as the starting plank for row two — but check both measurements first.
Once you have your starting piece, check the position of its end joint against the nearest joint in row one. If the offset meets the minimum requirement, you’re ready to continue laying that row.
Step 6 – Start the Third Row With a Different Joint Position
Avoid the temptation to simply repeat row one’s starting length for row three. Even if that length satisfies the minimum stagger relative to row two, it may create an H-joint pattern when rows one and three are compared.
Before laying row three, check the joint positions in all three rows together. The end joints in row three should be offset from both row two and row one by at least the manufacturer’s minimum stagger distance.
Step 7 – Continue Staggering Across the Room
As you work across the room, continue varying your starting plank lengths. Regularly check the positions of end joints in the last two to three rows as you go, watching for any emerging patterns — particularly diagonal stair steps or H-joints.
Monitor the overall appearance of the floor as you progress. If a pattern starts to form, adjust the next starting length to break it. It’s far easier to correct the layout one row at a time than to address it after the floor is complete.
Step 8 – Finish the Final Row
Measure the remaining space between the last full row and the wall. Cut planks to the required width, maintaining any perimeter clearances specified by the manufacturer. Before cutting, consider how the starting plank length of this final row will interact with the joints in the row before it — even the last row should satisfy the minimum stagger requirement.
Check the overall appearance of the finished floor before replacing any skirting boards or transition strips.
How to Use Vinyl Plank Offcuts When Staggering
Offcuts — the pieces left at the end of each row after the last full plank — are a natural part of any vinyl plank installation. Used correctly, they can reduce waste and help create a more natural joint distribution.
When Can You Reuse an Offcut?
A leftover piece from the end of a row can potentially become the starting plank of the next row if it meets the stagger and length requirements — but there is one non-negotiable rule for click-lock systems: the cut end must always face the perimeter wall, not the room.
This matters because cutting a plank removes the factory tongue-and-groove or click profile from that end. A sawn edge cannot connect to the end of another plank mid-row — there is no locking mechanism left to engage. Only the factory-finished short end of an offcut retains the profile needed to connect to the next plank in the row. So when reusing an offcut, the factory short end faces into the room (where it will lock to the next plank), and the cut end sits against the wall (where it will be covered by the skirting board).
Beyond orientation, a leftover piece must also meet two additional conditions: it must be long enough to satisfy the manufacturer’s minimum piece length requirement, and it must provide the required minimum stagger offset relative to the adjacent row.
Before placing any offcut as a row starter, check the orientation first, then measure the distance from the factory end (now the first join of the new row) to the nearest joint in the previous row. If that distance meets the minimum stagger, and the piece is not shorter than the minimum piece length, the offcut is usable.
When Should You Avoid Using an Offcut?
There are several situations where an offcut should be set aside rather than reused:
- The piece is too short to meet the manufacturer’s minimum piece length requirement
- It doesn’t provide sufficient stagger relative to the adjacent row
- The cut end would need to face into the room — in a click-lock system, the cut end has no locking profile and must always sit against the wall; if the room layout doesn’t allow this, the offcut cannot be used in that position
- The locking or joining mechanism is damaged from the original cut
- Using it would create an obvious repetitive pattern — for example, placing an identical starting length in a row that’s two rows away from the same length
- Using it would result in an awkwardly short finishing piece at the far end of that row
In these cases, cut a fresh piece to the required length rather than compromising the layout to use the offcut.
Common Mistakes When Staggering Vinyl Plank Flooring
Using the Same Starting Length for Every Row
Starting every row with the same length of plank — whether a full plank, a half plank, or any other fixed length — will cause end joints to align in the same position throughout the room. The result is a grid-like pattern that draws the eye to the seams rather than the floor surface.
Lining Up End Joints
Aligned end joints in adjacent rows are one of the most noticeable layout mistakes in vinyl plank installation. Even if the joints in rows one and three are well separated, two adjacent rows sharing a joint position creates an obvious straight line across the floor.
Creating H-Joints
H-joints develop when rows one and three have joints that align with each other, with row two sitting between them. This creates a repeating bracket pattern that can look very uniform and artificial — particularly on longer runs of flooring. It often happens when installers use a 1/2 stagger without checking whether the room dimensions allow it without producing H-joints.
Creating a Stair-Step Pattern
Consistently offsetting each row by the same amount — always starting 200 mm or 300 mm further along than the row before — creates a diagonal line of end joints running across the floor. This pattern becomes increasingly obvious once the floor is finished and can be difficult to unsee.
Using Very Short Plank Pieces
Very short plank pieces — particularly at the start or end of a row — can look awkward and are more prone to coming loose or lifting at the join, depending on the product and installation method. Most manufacturers specify a minimum piece length for this reason. Always check the product requirements and avoid placing pieces shorter than the specified minimum.
Ignoring the Manufacturer’s Installation Guide
There is a lot of generic vinyl plank installation advice available online, and some of it is useful as a starting point. However, general advice should never replace the installation instructions for your specific product. The required stagger, minimum piece lengths, subfloor requirements, and installation method are all product-specific, and following the wrong guidance can affect both the appearance of your floor and your warranty.
Failing to Plan the Entire Room
Installing one row at a time without considering how the joints will fall in subsequent rows is a reliable way to end up with a pattern problem part way through the job. By the time you notice the issue, you may have already laid a significant number of rows. Planning several rows ahead — before any cutting starts — takes extra time at the beginning but saves time (and material) overall.
What Should You Check Before Installing Vinyl Plank Flooring?
Subfloor Preparation
The condition of the subfloor is one of the most important factors in any vinyl plank installation. Vinyl plank flooring needs a subfloor that is clean, dry, stable, and flat to the tolerances specified by the manufacturer.
Surface contamination — adhesive residue, dust, or debris — can affect how click planks connect or how adhesive bonds. Moisture can cause issues with the flooring over time. Instability in the subfloor can cause planks to move and joints to open. Unevenness — high spots or dips beyond the manufacturer’s flatness tolerance — can cause planks to flex, click joints to separate, or the floor to feel uneven underfoot.
Subfloor preparation is not a step to rush. Time spent getting the subfloor right before installation significantly reduces the risk of problems after the floor is down.
Moisture and Humidity
Moisture in or on the subfloor is a common concern, particularly with concrete subfloors. Concrete can retain and release moisture, and elevated moisture levels can affect the performance of vinyl plank flooring over time, regardless of whether the product is described as waterproof.
Before installation, check the moisture levels in the subfloor using an appropriate moisture meter or test method. If levels exceed the manufacturer’s specified limits, address the source of moisture before proceeding with installation. On the Gold Coast, where humidity levels can be higher than in southern states, it’s worth taking moisture assessment seriously even if the concrete looks and feels dry.
Acclimatisation Requirements
Some vinyl plank products require acclimatisation — a period during which the unopened or opened boxes of flooring are stored in the installation environment so the product can adjust to the room’s temperature and humidity before being laid. Not all products have this requirement, and the duration varies between those that do.
Check the manufacturer’s instructions to confirm whether your specific product requires acclimatisation and, if so, for how long and under what conditions.
Installation Method
Vinyl plank flooring is available in two main installation systems: floating click-lock systems and direct-stick systems.
Floating click-lock vinyl planks connect to each other via an interlocking profile along their long and short edges and sit over the subfloor without being bonded to it. Direct-stick vinyl planks are adhered directly to the subfloor using a specified adhesive.
These two systems have different requirements at every stage of installation — from subfloor preparation to the order in which rows are laid. Using the wrong installation procedure for your product can affect the finished result. Always follow the installation method specified for your particular product.
How to Calculate How Many Vinyl Planks You Need
Measure the Floor Area
To work out how much flooring you need, start by calculating the area of the room in square metres. For a straightforward rectangular room, this is simply the length multiplied by the width. For example, a room that is 5 m long and 4 m wide has a floor area of 20 m².
For rooms with irregular shapes, alcoves, or bay windows, break the area into rectangular sections, calculate each one separately, and add them together.
Allow for Cutting and Waste
Staggering the joints means cutting planks at the beginning and end of each row, which produces offcuts and generates waste. As a general guide, allowing an additional 10% on top of the calculated floor area is a common starting point for straightforward rooms with simple layouts. Rooms with more complex shapes, diagonal obstacles, or a high number of doorways and transitions may require a higher allowance.
It’s also worth ordering a small number of extra planks and setting them aside after installation — having matching material available for future repairs is useful, especially for products that may be discontinued or updated over time.
Check the Product’s Coverage
Vinyl plank products vary in their individual plank dimensions, and packs cover different areas depending on the plank size and the number of planks per pack. Coverage per pack should be stated on the product label or in the product specification sheet.
Before ordering, confirm the coverage figure for your specific product and calculate how many packs you need based on your floor area plus your waste allowance. If you’re ordering from Award Carpets Gold Coast, our team can help you confirm quantities before you purchase.
Can You Install Vinyl Plank Flooring Yourself?
Vinyl plank flooring is one of the more accessible flooring types for home installers, particularly click-lock floating systems, which don’t require adhesives or specialised tools. Many homeowners successfully install their own vinyl plank flooring and achieve a good result.
That said, a good result still depends on accurate measuring, careful cutting, and — most importantly — proper subfloor preparation. Getting the stagger right, maintaining consistent clearances, and managing transitions between rooms and into doorways all require attention to detail. The installation may look simple when it’s going smoothly, but it rewards planning and care.
When DIY Installation May Be Suitable
DIY installation is generally more straightforward when:
- The room has a simple, rectangular layout with minimal obstacles
- The subfloor is already in good condition — flat, clean, dry, and stable — and needs little preparation
- The job involves simple straight cuts without intricate work around cabinetry or irregular walls
- The product chosen is a click-lock floating system specifically suitable for DIY installation
- The installer is comfortable with measuring, marking, and cutting flooring accurately
When Professional Installation May Be Better
There are situations where it’s worth calling in a professional installer rather than attempting the job yourself:
- The subfloor is uneven, damaged, or has moisture concerns that require remediation
- The room is large or has a complex layout with multiple alcoves, angles, or transitions
- The job involves multiple room transitions where floor height, direction, or finish changes
- There are difficult cuts required around doorframes, kitchen cabinets, or fixed cabinetry
- The product is a direct-stick system requiring adhesive application
- The installation is for a commercial space with higher traffic and performance requirements
- The homeowner simply wants peace of mind that the job has been done correctly
Award Carpets Gold Coast offers professional flooring installation on the Gold Coast for customers who’d prefer to leave it to the experts.
Vinyl Plank Flooring on the Gold Coast
Vinyl plank flooring has become a popular choice for Gold Coast homes, and it’s easy to see why. The Gold Coast lifestyle — sandy feet, humid summers, busy family homes — calls for flooring that can handle real everyday use without requiring constant maintenance.
Most modern vinyl plank products are water-resistant, making them practical for kitchens, living areas, and hallways where spills and tracked-in moisture are a regular reality. They’re also straightforward to clean and can handle the humidity that comes with a coastal Queensland climate better than some other flooring types.
The timber-look finishes available in today’s vinyl flooring range are a long way from the utilitarian vinyl of previous generations. Products like the Polaris vinyl plank and the Regent vinyl plank offer the look of natural timber in a format that’s designed to handle the demands of a busy home.
Vinyl plank flooring suits a range of applications in Gold Coast homes, including:
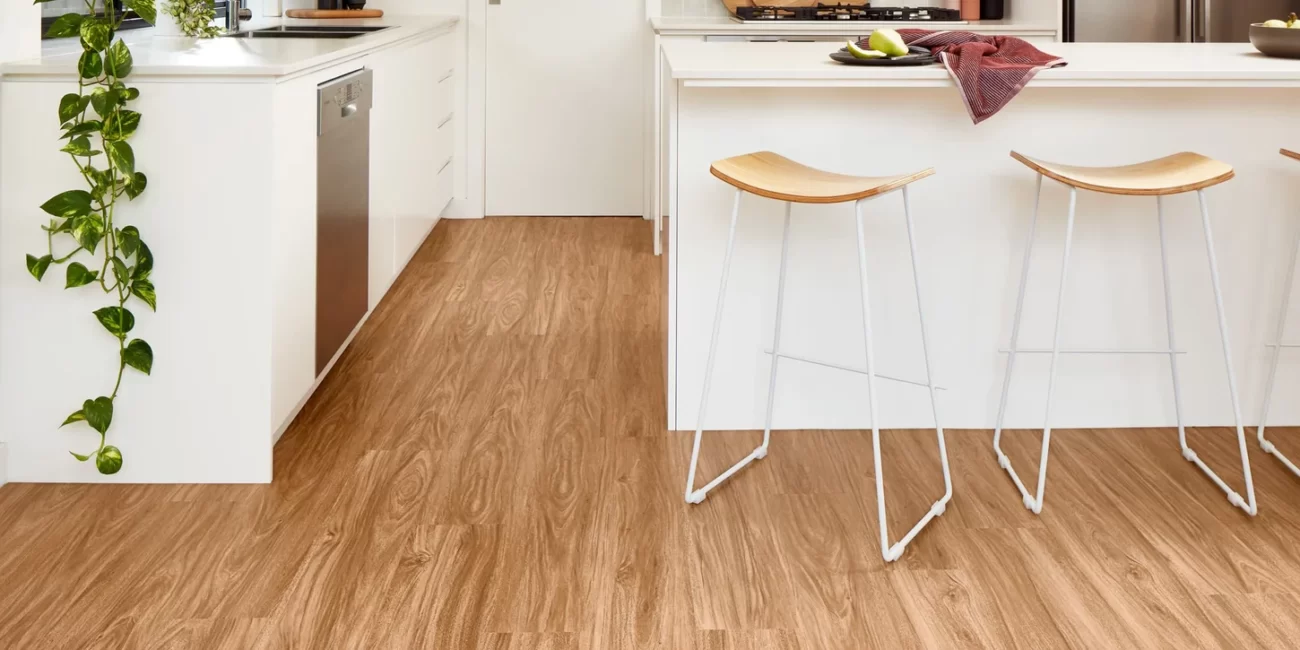
- Kitchens — water resistance and easy cleaning are practical advantages
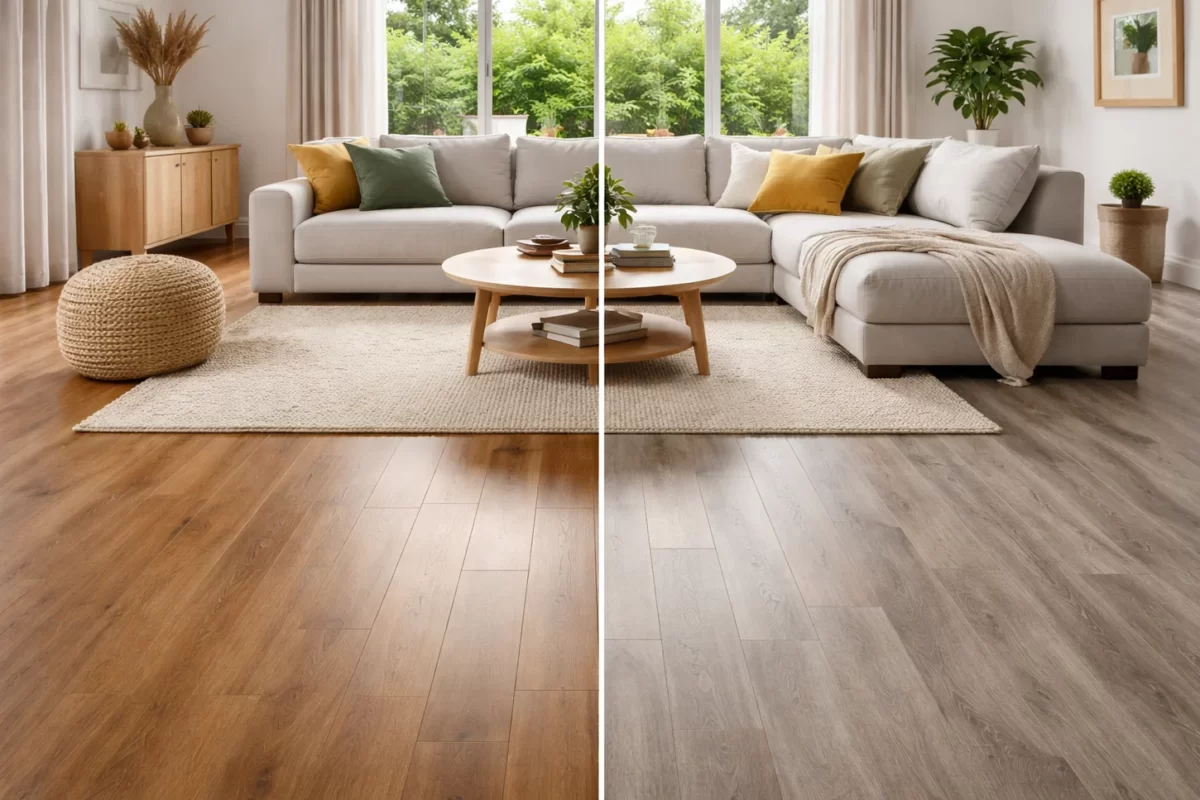
- Living areas — comfortable underfoot and available in a wide range of timber-look styles
- Bedrooms — softer feel underfoot compared to tile or stone
- Hallways — durable enough to handle high-traffic areas
- Busy family homes — holds up well under children, pets, and day-to-day activity
At Award Carpets Gold Coast, we stock a range of vinyl plank options to suit different rooms and budgets. If you’re looking for vinyl flooring on the Gold Coast, our team can help you find a product that suits your home and your lifestyle — without the hard sell.
Frequently Asked Questions About Staggering Vinyl Plank Flooring
How Far Apart Should Vinyl Plank Seams Be?
The required distance between end joints in adjacent rows varies depending on the specific product. There is no single measurement that applies to all vinyl plank flooring. Always check the manufacturer’s installation instructions for the minimum stagger distance required for your product before you begin laying.
Do Vinyl Plank Flooring Seams Have to Be Staggered?
Yes — staggering the end joints in adjacent rows is a standard part of vinyl plank installation. Aligned joints create an obvious pattern across the floor and can affect the overall appearance of the finished installation. The exact minimum stagger required will depend on your specific product, so always refer to the manufacturer’s instructions.
Can You Use the Leftover Piece to Start the Next Row?
Yes, in many cases — but only if the leftover piece meets two conditions: it must be at least as long as the manufacturer’s minimum piece length, and it must provide the required minimum stagger relative to the joint in the adjacent row. If the offcut doesn’t satisfy both requirements, cut a fresh piece rather than compromising the layout.
What Is the Best Pattern for Vinyl Plank Flooring?
For timber-look vinyl planks, a varied or random-looking joint distribution generally produces the most natural result. Joints that land at different positions throughout the room — without forming obvious diagonal lines, H-joints, or stair-step patterns — tend to read as a cohesive surface rather than a series of individual rows.
That said, the best pattern for your floor is one that satisfies the manufacturer’s installation requirements. Always check what your specific product permits before committing to a layout.
Should Vinyl Plank Flooring Be Staggered Randomly?
A random stagger — where starting plank lengths vary throughout the installation without following a fixed pattern — is a common approach and generally produces a natural-looking result. However, “random” doesn’t mean arbitrary. Even a random stagger needs to respect the minimum joint offset specified by the manufacturer. The variation is in the joint positions, not in whether the minimum spacing is maintained.
Can Vinyl Plank Flooring Have an H-Joint?
An H-joint occurs when the end joints in rows one and three (or two and four) sit directly above each other, with the row between them sitting in the gap. The shape, viewed from above, resembles the letter H.
H-joints create a noticeably repetitive pattern and are generally best avoided. Whether the manufacturer’s instructions prohibit them outright or simply discourage them varies between products. Check your installation guide and plan your layout to prevent H-joints from forming.
How Do You Stagger Vinyl Planks Around Doorways?
Doorways require additional planning because the layout in one room needs to align sensibly with the layout in the adjoining room or hallway. Before cutting any planks to work around a doorway, consider how the joint positions in both spaces will relate to each other once the transition is in place.
Where rooms will be covered with a transition strip, the joint positions in each space can be managed independently. Where the flooring will run continuously through a doorway without a transition, the stagger pattern needs to flow through from one room to the next. Plan this before you start cutting to avoid ending up with awkward joint positions around the door opening.
What Happens If Vinyl Plank Flooring Isn’t Staggered Correctly?
The most immediate consequence is visual — aligned joints, H-joints, and stair-step patterns are all noticeable once the floor is complete and can be difficult to correct without pulling planks up and reinstalling them.
For floating click-lock systems, there are also structural consequences. Inadequate stagger concentrates mechanical stress along shared seam lines, and regular foot traffic across those lines can work the locking profiles loose over time. The result can be joints that unlock, peak upward, or open into visible gaps — problems that are difficult to fix without removing and relaying the affected planks.
Beyond appearance and performance, installing a floor outside the manufacturer’s specified stagger requirements may also conflict with the product’s warranty conditions. Checking the manufacturer’s instructions before you start is the simplest way to avoid all of these problems.
Vinyl Plank Flooring Help from Award Carpets Gold Coast
Getting the stagger right is one part of a successful vinyl plank installation, but there’s quite a bit more to consider — from choosing the right product for your room to preparing the subfloor correctly and working out how much flooring you need.
At Award Carpets Gold Coast, we’ve been helping Gold Coast homeowners with flooring for over 30 years. As an independent, family-run business, we carry a range of vinyl plank options — including products like the Polaris and Regent ranges — and our team is happy to help you find something that suits your home, your budget, and the way you live.
If you’re planning a vinyl plank installation and want to talk through your options, get in touch or visit our showroom on the Gold Coast. We offer a free quote and practical advice without the pressure — just straightforward help from people who know flooring.