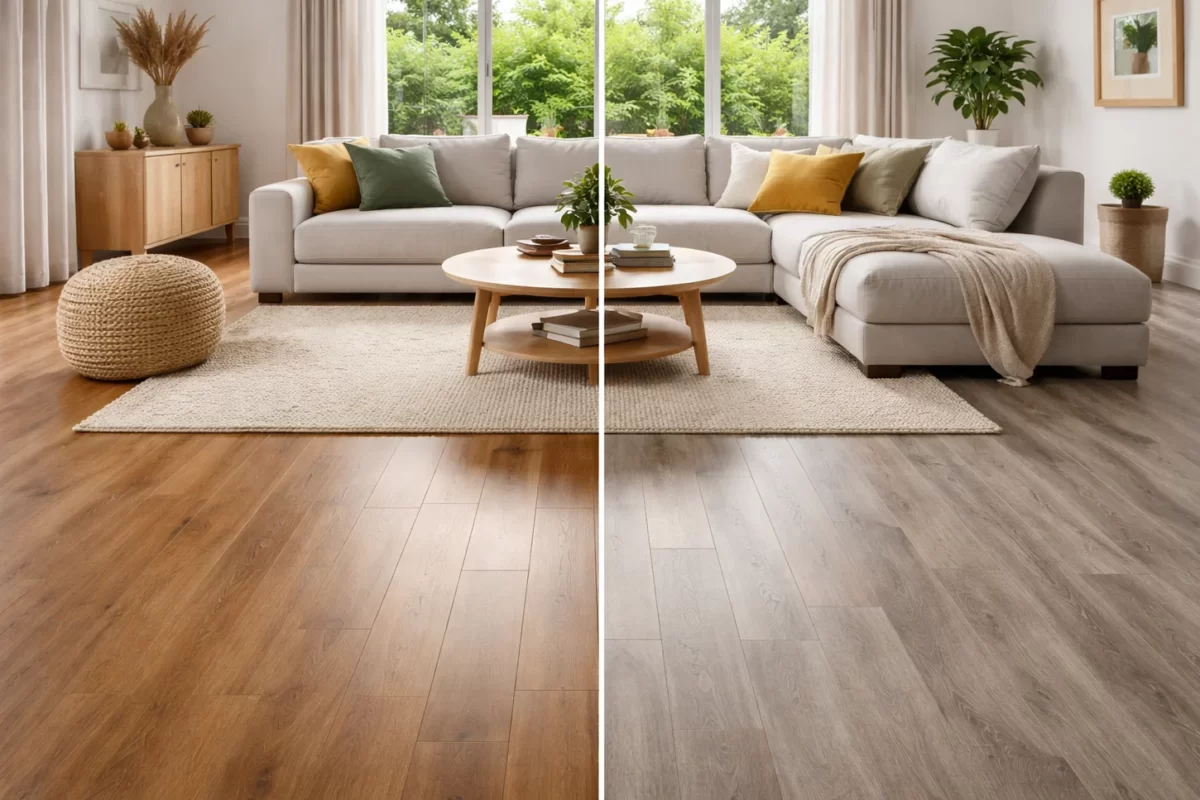

Laminate flooring is one of those surfaces that looks brilliant for years — until one day you notice it doesn’t quite catch the light the way it used to. The shine has flattened off, there’s a faint cloudiness across the hallway, and no amount of mopping seems to bring it back.
The good news is that most dull laminate floors aren’t damaged at all. They’re just carrying a build-up of cleaning residue, fine grit and everyday wear that’s masking the finish underneath. Learning how to polish laminate floors properly — which, as you’ll see, is a bit different from what most people expect — is usually enough to bring back a clean, even sheen.
At Award Carpets Gold Coast, we’ve spent over 30 years supplying and installing floors across the region, and dull laminate is one of the most common questions we get. This guide walks through what’s actually causing the problem, how to fix it safely, and how to tell when a floor has reached the point where restoration isn’t the answer.
Can You Polish Laminate Floors?
Short answer: yes and no. It depends entirely on what you mean by “polish.”
Laminate Flooring Is Different from Solid Timber Flooring
Laminate isn’t timber. It looks like timber, and good laminate looks very much like timber, but the construction is completely different.
A laminate plank is built in layers:
| Layer | What it does |
| Wear layer | A clear, factory-applied protective coating (usually melamine resin with aluminium oxide) that resists scratching, scuffing and fading |
| Decorative layer | A high-resolution printed image that creates the timber, stone or tile appearance |
| Core board | Usually HDF (high-density fibreboard), providing structure and stability |
| Backing layer | A balancing layer underneath that helps resist moisture from below and keeps the plank flat |
That wear layer is the critical part. On a solid timber floor, the finish sits on top of real wood — which means it can be sanded back and recoated multiple times over the floor’s life. On laminate, the wear layer is bonded during manufacture and can’t be replaced. Sand through it and you’ve reached a printed image, not more timber.
This is why laminate generally shouldn’t be sanded, waxed or treated like hardwood. Traditional timber floor products are designed to bond with or feed a wood surface. Laminate has no wood surface to bond with, so those products tend to just sit on top, attract dirt and eventually go cloudy.
So when people talk about polishing laminate, what they’re really describing is cleaning thoroughly, removing residue and restoring the appearance of the existing finish. You’re not adding shine — you’re uncovering it.
Can You Make Dull Laminate Floors Shine Again?
In most cases, yes. A surprising number of “worn out” floors are simply floors with a few years of product film sitting on them.
The usual culprits behind a dull finish are:
- Residue from cleaning products that weren’t rinsed or removed properly
- Fine dirt and grit ground into the surface over time
- Micro-scratches from sand, pet nails and furniture
- The wrong cleaning products — anything soapy, oily or wax-based
Work through those methodically and most floors improve considerably. Sometimes dramatically.
What cleaning can’t fix is a wear layer that’s genuinely worn through. If the protective coating has been abraded away in traffic paths, or the surface has been sanded, scoured or chemically damaged, no product will restore it. At that point you’re looking at replacement rather than restoration.
When Should You Replace Instead of Restore Laminate Flooring?
Restoration is the right call for the vast majority of dull floors. But some issues are structural, and cleaning won’t touch them:
- Deep scratches or gouges that have cut through the wear layer into the decorative layer
- Swollen or warped boards, usually a sign of moisture that’s reached the core
- Water-damaged edges — visible swelling, roughness or dark discolouration along plank joints
- Peeling, lifting or delaminating wear layers
- Persistent dullness that remains after a proper clean, which usually indicates surface deterioration rather than residue
If you’re seeing any of these across a meaningful area of the floor, it’s worth having someone take a look before you spend more time and money on cleaning products.
Why Do Laminate Floors Become Dull?
Understanding the cause makes the fix much easier. Dullness almost always traces back to one of the following.
Cleaning Product Residue and Build-up
This is the single most common cause, and it’s frustrating because it comes from people trying to do the right thing.
- Soap-based cleaners — dish soap, sugar soap and general household detergents leave a film that dulls the surface and attracts dirt
- Wax and oil-based products — these don’t bond to laminate. They sit on top, gradually yellow, and make the floor look hazy and feel slightly tacky
- Excessive use of cleaning solutions — using more product than the label calls for leaves the excess behind
- Products that leave a film by design — some “shine restorers” work by depositing a coating, which becomes a problem when it builds up over multiple applications
The tricky part is that residue makes a floor look dull, which makes people clean more, which adds more residue. It’s a loop worth breaking early.
Dirt, Sand and Everyday Foot Traffic
Grit is an abrasive. Every time someone walks across a floor with sand underfoot, those particles work like very fine sandpaper against the wear layer.
You’ll usually see this first in the paths people actually walk — the run from the front door to the kitchen, the strip in front of the sink, the hallway. Those areas go dull noticeably faster than the corners of a room.
On the Gold Coast this matters more than most places. Sand travels. It comes home from the beach, off the driveway, out of the dog’s coat and through the back door, and it’s fine enough that you often don’t see it until it’s already done a season’s worth of work on your floor.
Using Too Much Water
Laminate is moisture-sensitive. The HDF core is essentially compressed wood fibre, and while the surface and edges are treated to resist everyday spills, the core will swell if water gets to it.
Water finds its way in through the joints between planks. A damp microfibre mop is fine. A sopping wet mop that leaves visible water on the surface is not — that water sits in the seams and slowly works its way down.
Repeated wet mopping causes two problems at once: the moisture risk, and the fact that most people wet-mop with a cleaning solution, which is where the residue comes from. It’s worth reading our full guide on how to clean laminate flooring for the day-to-day method.
Abrasive Cleaning Methods
Anything that scratches will dull. That includes:
- Scouring pads
- Steel wool
- Stiff or rough-bristled brushes
- Aggressive scrubbing, even with a soft cloth, if you’re leaning on it hard enough
A mark that won’t come off with gentle cleaning generally needs a different approach, not more force.
Fine Surface Scratches
A glossy surface looks glossy because it reflects light evenly. Once you introduce thousands of tiny scratches, that light scatters in every direction instead — and the floor reads as flat or hazy even though nothing is technically broken.
This is worth distinguishing from real damage. Micro-scratches affect appearance only, and they’re spread evenly across the traffic area. Genuine structural damage is localised, visible up close, and you can usually feel it with a fingernail.
Age and Wear
Laminate wear layers are tough, but they’re not eternal. After a decade or more of daily traffic — especially in a busy household — some loss of sheen is normal and expected.
Rooms age at different rates. A hallway or kitchen might look tired while a spare bedroom laid at the same time still looks new. That’s not a defect; it’s just proportional to use.
What You Need to Restore Dull Laminate Floors
You don’t need much, and cheap tools do the job as well as expensive ones.
Recommended Cleaning Tools
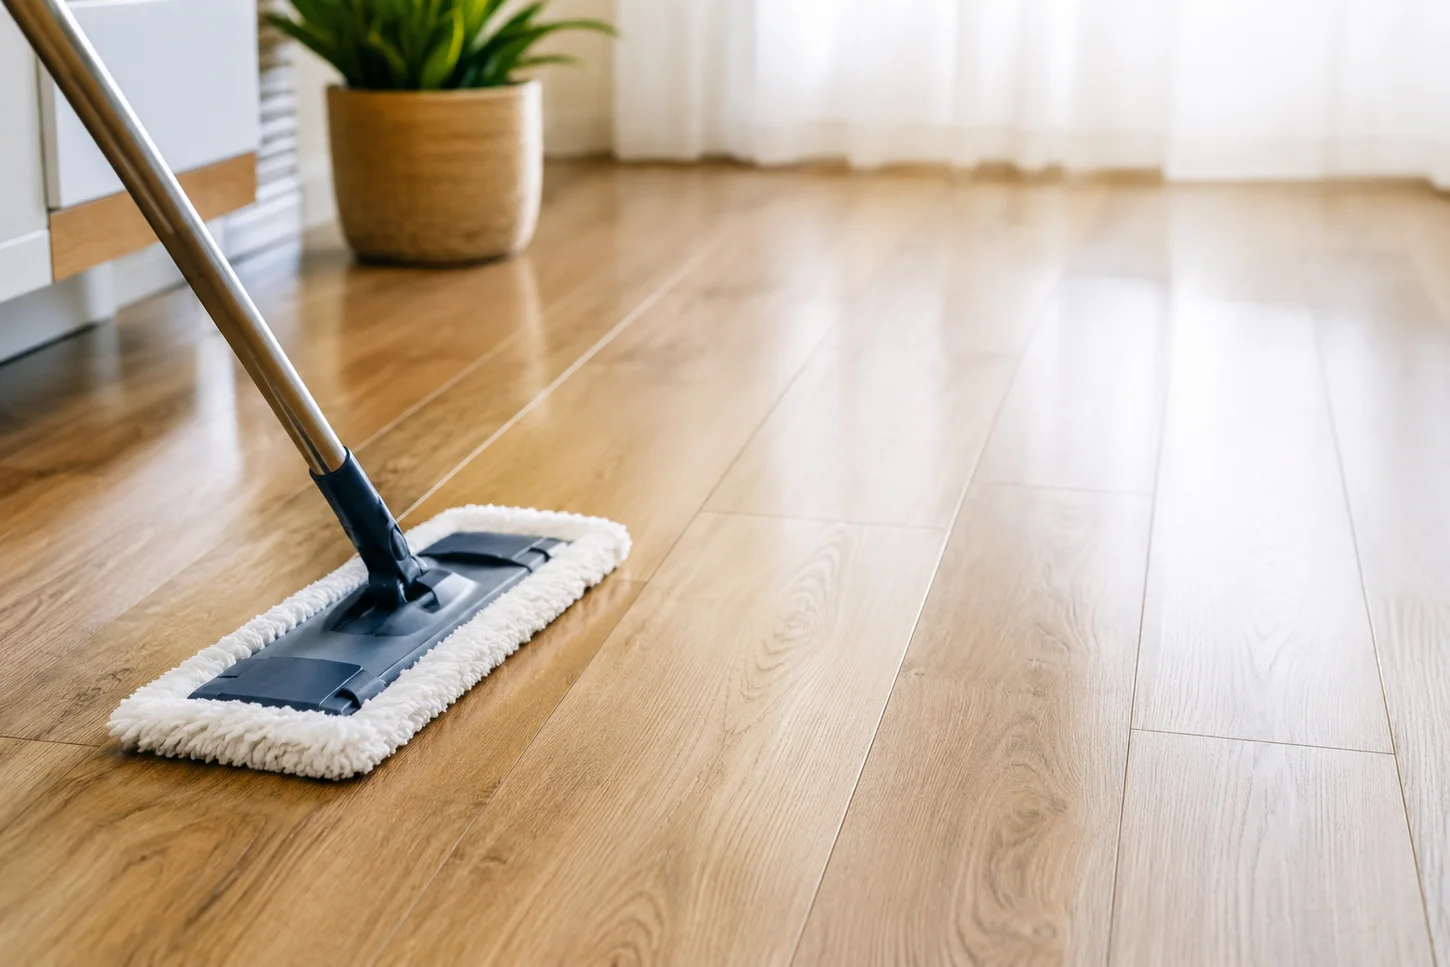
- Microfibre mop — flat-head style, ideally with a couple of spare pads
- Soft-bristle broom for a quick daily pass
- Vacuum with a hard-floor attachment — make sure the beater bar is switched off or the head is a felt/brush hard-floor head
- Microfibre cloths, several, for spot work and buffing
- Spray bottle if your cleaner is a concentrate, so you can mist lightly rather than pour
- Soft cleaning pads for stubborn marks — soft, not “non-scratch” scourer soft
Choosing a Laminate-Safe Floor Cleaner
The safest option is always the cleaner your flooring manufacturer recommends. Most laminate brands specify a product or a product type, and following that keeps you on the right side of the warranty.
Failing that, look for a cleaner explicitly labelled for laminate flooring — not “all floors,” not “timber and laminate,” but laminate.
And use it sparingly. This is the part most people get wrong: more cleaner does not produce a cleaner or shinier floor. Cleaning products work by lifting soil so it can be removed. If you apply more than the surface can carry, the excess has nowhere to go and simply dries in place as film. A light mist across a section, worked with a damp microfibre pad, does more than a bucket ever will.
What to Avoid
| Avoid | Why |
| Wax | Doesn’t bond to laminate; builds up, yellows, goes cloudy |
| Oil-based floor products | Designed to feed timber — laminate can’t absorb them |
| Traditional timber floor polish | Formulated for a completely different surface |
| Abrasive cleaners and powders | Scratch the wear layer permanently |
| Bleach and harsh chemicals | Can damage the finish and discolour the decorative layer |
| Excessive water | The main cause of swelling and joint damage |
| Steam mops | Heat plus moisture is a genuine risk — only use if your manufacturer specifically approves it |
How to Polish and Restore Dull Laminate Floors Step by Step
Here’s the process from start to finish. Work through it in order — the sequence matters more than it looks.
Step 1 – Remove Furniture and Clear the Floor
Move lightweight furniture out of the room where it’s practical to do so. Lift rather than drag.
Take up rugs and mats, and give them a shake or a vacuum while they’re off the floor — they’re often holding a good amount of the grit you’re about to deal with.
The aim is unobstructed access. Cleaning around obstacles is where streaks and missed patches come from.
Step 2 – Sweep or Vacuum Away Loose Dirt
This step does more for the final result than any product will.
Remove all the sand, dust, pet hair and grit before any liquid touches the floor. If you skip it, you’re not cleaning — you’re making a slurry and pushing it around.
Pay particular attention to corners, skirting edges and the areas under furniture, where grit collects and then migrates back out into the room.
Step 3 – Identify What Is Causing the Dull Appearance
Before you clean, spend two minutes diagnosing. Crouch down and look across the floor at a low angle with natural light coming in from the side.
- Visible residue — patchy cloudiness, a slightly milky look, or a surface that feels faintly tacky
- Streaking — directional lines that follow the way you last mopped
- Scratches and scuffs — fine lines catching the light, or dark marks from shoe rubber
- Worn areas — dullness concentrated exactly where people walk
Residue and streaking are cleaning problems. Uniform dullness in traffic paths that persists after cleaning is a wear problem. Knowing which you’re dealing with tells you whether Step 4 will solve it.
Step 4 – Deep Clean with a Laminate-Safe Cleaner
Use your manufacturer’s recommended product at the dilution stated on the label.
Apply only the amount required. With a spray bottle, that’s a light mist over roughly a square metre at a time. Never pour cleaner onto the floor, and never saturate it.
Work in manageable sections so nothing dries before you’ve worked it. Rinse or swap your mop pad as it loads up with dirt — a dirty pad redistributes soil rather than removing it.
Step 5 – Remove Cleaning Residue
Excess cleaner is what creates that cloudy, hazy finish, so this step is where a lot of floors turn around.
Follow whatever residue-removal method your laminate manufacturer specifies. For most laminate cleaners, that means going back over the section with a clean, barely damp microfibre pad to lift what the first pass left behind.
The one thing not to do: don’t respond to haze by applying more product. If the floor already has build-up, adding another layer only compounds it. Removing is the goal, not adding.
Step 6 – Dry the Floor Thoroughly
Remove any remaining moisture promptly with a dry microfibre cloth or dry mop head.
Let the floor dry completely before you walk on it or put furniture back. Rushing this is how you get footprints set into a half-dry residue layer.
Standing water should never be left on laminate — not even briefly. Every minute it sits is time for it to find a joint.
Step 7 – Buff the Surface with a Clean Microfibre Cloth or Dry Mop
Once the floor is dry, a gentle buff with clean, dry microfibre evens out the finish and lifts any last traces of film. This is the closest thing to “polishing” that laminate actually wants.
Keep it light. Aggressive rubbing risks the same micro-scratching you’re trying to undo.
Worth being clear on the distinction: buffing removes and evens. Polishing, in the traditional sense, adds a coating. Laminate benefits from the first and is generally harmed by the second.
Step 8 – Inspect the Finished Floor
Check the result from a few different positions and, if you can, in natural light. Haze and streaking are much easier to see at a low angle than standing directly over them.
Look for remaining cloudiness, directional streaks and any damaged sections you might have missed.
If a patch still isn’t right, repeat the cleaning on that patch specifically — don’t reach for a different product. Most floors that don’t respond to a careful second pass have a wear issue rather than a cleaning issue.
How to Remove Haze and Cloudiness from Laminate Floors
Haze deserves its own section because it’s so common and so consistently misdiagnosed.
What Causes a Cloudy Film on Laminate?
- Cleaner build-up — the most frequent cause by a wide margin
- Soap residue from dish soap, sugar soap or general-purpose detergents
- Wax or polish residue from products that were never suitable in the first place
- Hard-water deposits — mineral scale left behind when mop water dries on the surface
- Incorrect technique — too much solution, dirty pads, or letting the floor air-dry with cleaner still on it
How to Remove Cleaning Product Build-up
Start with the gentlest laminate-safe approach available and only escalate if it’s genuinely not working. In practice, a proper clean with the correct product followed by a clean-water residue pass shifts most build-up.
Avoid the DIY chemical combinations that circulate online. Mixing household products is unpredictable, some combinations are genuinely dangerous, and several common suggestions are acidic enough to attack the wear layer.
Follow your flooring manufacturer’s instructions ahead of any general advice — including ours.
And test anything unfamiliar in an inconspicuous spot first. Inside a wardrobe, behind a door, under where the lounge sits. Give it a day before you commit to the whole floor.
How to Deal with Streaks After Cleaning
Streaking is nearly always a technique problem, not a product problem:
- Use less solution. Streaks are usually excess cleaner drying unevenly.
- Use a genuinely clean microfibre mop. Pads hold onto residue between uses — wash them without fabric softener, which leaves its own film.
- Change your water or pad frequently. Once it’s dirty, you’re spreading rather than lifting.
- Make sure the floor dries properly. Slow, uneven drying leaves visible drying lines.
Can You Use Laminate Floor Polish or Wax?
This comes up constantly, so let’s deal with it directly.
Why Traditional Floor Wax Is Usually a Bad Idea
Laminate already has a manufactured protective surface. It doesn’t need a sacrificial coating on top the way an old timber or vinyl floor might have.
Wax on laminate tends to:
- Build up unevenly, because there’s nothing for it to soak into
- Alter the intended appearance — a matte-finish laminate can end up looking artificially shiny, and not in a good way
- Make future cleaning considerably harder, because now you’re cleaning wax rather than laminate
- Trap dirt in the coating, which dulls it faster than the bare floor would have dulled
Removing built-up wax from laminate is a genuinely unpleasant job. It’s much easier to never start.
What About Laminate Floor Restorer Products?
Some products are marketed specifically as laminate restorers or refreshers, and a few are formulated properly for the job.
The essential caveat: compatibility has to be confirmed with your flooring manufacturer, not assumed from the label. “Suitable for laminate” on a bottle is a marketing claim. Your manufacturer’s care guide is a warranty condition.
Never assume a product designed for timber or vinyl will work on laminate. The three surfaces respond to chemicals completely differently, and products cross over less often than the shelf layout at the hardware store suggests.
Always Check the Flooring Manufacturer’s Care Instructions
Different laminate products genuinely have different requirements. Finish types vary, surface textures vary, and the recommended products vary with them.
There’s also a practical consideration: most laminate warranties include maintenance conditions. Using a product the manufacturer excludes can affect a claim later, which is a poor trade for a slightly shinier floor now.
If you’ve lost the paperwork, the manufacturer’s care guide is usually available on their website — or bring the details to us and we’ll help you track it down.
Manufacturer instructions should take priority over generic cleaning hacks every time. A tip that worked beautifully on someone else’s floor tells you about their floor, not yours.
How to Restore Scratched Laminate Flooring
Dealing with Light Surface Scuffs
Start gently. A lot of “scratches” turn out to be scuff marks — rubber or dirt deposited on the surface rather than damage to it.
Try a clean, damp microfibre cloth first, then a laminate-safe cleaner on the mark specifically. Work with light pressure and small circles.
If that doesn’t shift it, a manufacturer-approved spot product is the next step. Abrasive scrubbing is not — it will turn a mark you might have removed into damage you definitely can’t.
Using Laminate Repair Kits
For genuine light scratches, repair kits (wax fill sticks, coloured putty or touch-up markers) can work well.
They’re appropriate when:
- The scratch is narrow and shallow
- It’s in a spot where a slight colour difference won’t be obvious
- You’re touching up a handful of marks, not resurfacing a room
Colour matching is the whole game here. Laminate décors have grain variation and tonal shifts within a single plank, so test on an offcut or an out-of-the-way area first. If you have leftover planks from the original installation, use one as your test surface.
Follow the product instructions carefully, particularly around curing time and excess removal. Most poor repair results come from rushing the finishing step rather than from the fill itself.
When Scratches Are Too Deep to Repair
Some damage is past the point of touch-up:
- Damage through the wear layer into the printed décor
- Deep gouges you can catch a fingernail in
- Chipped edges, particularly along plank joints
- Exposed core material — visible fibreboard, usually pale brown and slightly fuzzy
Because laminate can’t be sanded and recoated, replacing the affected plank is often the better result than trying to disguise the damage. On a click-lock floor, individual planks can frequently be swapped out — which is a strong argument for keeping a few spares from the original install.
If you’re planning a new floor, ask about ordering an extra box for exactly this reason. Our laminate flooring installation guide covers the practical side of that.
What Not to Do When Restoring Laminate Floors
Don’t Sand Laminate Flooring
Worth repeating because it’s the most costly mistake on this list.
Laminate can’t generally be refinished like timber. There’s no solid wood to cut back into — sanding goes straight through the wear layer and into a printed image, which is unrecoverable.
If someone recommends sanding your laminate floor, they’ve mistaken it for engineered or solid timber. It’s an easy mistake to make visually and an expensive one to act on.
Don’t Use a Steam Mop Without Manufacturer Approval
Steam mops combine the two things laminate handles worst: heat and moisture, driven into the surface under pressure.
Steam can force moisture into plank joints and, over repeated use, contribute to swelling, edge damage or separation of the layers.
Some laminate products are approved for steam cleaning with specific conditions. Many are not, and some manufacturers explicitly void warranty cover for it. Check before you use one, not after.
Don’t Flood the Floor with Water
Avoid soaking laminate under any circumstances. Damp is the target; wet is not.
Wipe spills promptly rather than leaving them to evaporate — evaporation is slower than absorption at a joint.
Be particularly careful around plank seams, doorways and the edges of wet areas, which is where water tends to pool without anyone noticing.
Don’t Use Abrasive Scrubbers
Steel wool, scouring pads, melamine foam sponges and stiff brushes all remove marks by removing surface material.
On laminate, that surface material is the wear layer — the only protection the floor has. Once it’s scratched or thinned, the floor will dull faster from that point on, and the damage doesn’t come back.
Don’t Apply Random Timber Floor Products
Timber polish, wax and oils are not automatically compatible with laminate, no matter how similar the two floors look.
Always check product suitability against your flooring manufacturer’s guidance. If a product doesn’t mention laminate specifically, treat that as a no rather than a maybe.
How to Keep Laminate Floors Looking Shiny and New
Prevention is considerably easier than restoration. A few habits make most of the difference.
Sweep or Vacuum Regularly
Grit removal is the highest-value thing you can do for a laminate floor. Get it off the surface before it gets walked in.
A consistent schedule beats an occasional deep clean. Focus on high-traffic areas and entry points, and don’t feel you need to do the whole house every time.
Clean Spills Immediately
Prompt cleanup prevents both staining and moisture reaching plank joints.
Keep it simple and targeted — a damp cloth on the spot, dried straight after. There’s no need to clean the whole room because of one spill.
Use Mats at External Entry Points
Mats at every external door catch a meaningful share of the sand, grit and dirt that would otherwise end up underfoot.
Use a coarse mat outside and a softer absorbent one inside where you can. Shake or vacuum them regularly, or they become a grit reservoir rather than a grit trap.
For Gold Coast homes — especially anywhere near the beach, or with a sandy yard, or with kids and dogs going in and out all day — this is probably the single most effective thing on the list.
Add Felt Pads to Furniture
Felt pads under chair legs, table legs and furniture feet dramatically reduce scratching from moved furniture.
Check them periodically. Worn pads collect grit and effectively become sanding blocks, which is worse than no pad at all. Replace them when they flatten or discolour.
Avoid Dragging Heavy Furniture
Lift rather than drag wherever you safely can, ideally with a second person.
For anything too heavy to lift, use furniture sliders or lay down a sheet of hardboard and move across that. It’s a small amount of extra effort against a scratch that’s permanent.
Keep Pet Nails Trimmed
In homes with dogs and cats, nails are a common source of fine surface scratching — especially in the spots where pets take off and stop.
Regular trimming reduces the depth of those marks considerably. It won’t eliminate them, but it’s the difference between light micro-scratching and visible gouges.
How Often Should You Clean and Maintain Laminate Floors?
There’s no universal schedule, but here’s a sensible baseline.
| Frequency | Task |
| Daily (or as needed) | Quick sweep or vacuum of entryways and kitchen; wipe spills immediately |
| Weekly | Full vacuum or sweep of all laminate areas; damp microfibre mop of traffic areas |
| Monthly | Damp mop the full floor including low-traffic rooms; check and clean entry mats |
| Every 3–6 months | Deeper clean with a laminate-safe cleaner and a residue-removal pass |
| Annually | Inspect for scratches, joint gaps, swelling or wear; replace worn felt pads |
Daily and Weekly Maintenance
Removing loose dirt and grit regularly is the core of the whole routine. Everything else is secondary.
Address spills as they happen rather than adding them to the weekly job. Sixty seconds now saves a stain later.
Periodic Deep Cleaning
Occasional deeper cleaning is genuinely useful — it lifts the accumulated soil that damp mopping alone doesn’t reach.
But there’s a limit. Over-cleaning is a real problem with laminate, because every wet clean is another opportunity for moisture at the joints and another chance to leave residue. Two to four deep cleans a year suits most households.
High-Traffic Areas Need Extra Attention
Some parts of the floor do far more work than others:
- Hallways — the highest-traffic surface in most homes
- Kitchens — traffic plus spills plus standing at benches
- Entryways — where all the outdoor grit arrives
- Living rooms — furniture movement and sustained daily use
- Commercial environments — offices, salons and retail spaces may need daily attention to areas a home would handle weekly
Cleaning these more often than the rest of the house isn’t overkill — it’s just matching effort to use.
Laminate Flooring Maintenance Tips for Gold Coast Homes
A few things are worth calling out specifically for our climate and lifestyle.
Managing Sand and Outdoor Debris
Sand is the local flooring hazard. It’s abrasive, it’s fine enough to travel on bare feet and in pet fur, and it accumulates in the exact spots that already get the most traffic.
Entry mats at every external door and regular vacuuming — with the beater bar off — do most of the work. A shoes-off habit does the rest, if that suits your household.
Pay attention to sliding door tracks and the transition strips at doorways. Sand collects there and then gets tracked back out onto the floor.
Humidity and Moisture Considerations
Gold Coast humidity means sensible moisture management is worth thinking about.
Keep rooms ventilated, run air conditioning or fans during humid stretches, and clean spills promptly. Laminate is dimensionally stable within normal indoor ranges, but sustained high humidity combined with standing water is where problems start.
One thing we won’t do is tell you laminate is waterproof — it isn’t. Some laminate products carry water-resistance ratings for surface spills, and those ratings have specific limits and conditions attached. Treat any laminate floor as moisture-sensitive and you’ll be fine.
If you’re choosing flooring for a bathroom, laundry or anywhere with regular water exposure, there are better-suited options worth discussing.
Protecting Flooring in Busy Family Homes
Family homes ask more of a floor, so the protection needs to be proportional:
- Furniture protection — felt pads everywhere, checked and replaced as they wear
- Pet-friendly maintenance — nails trimmed, a mat under water bowls, prompt cleanup of accidents
- High-traffic cleaning routines — more frequent grit removal in the paths people actually use, less frequent everywhere else
The aim isn’t a museum floor. It’s a floor that ages evenly instead of wearing out in three specific stripes.
When Cleaning Isn’t Enough: Signs Your Laminate Floor Needs Attention
Persistent Dullness After Proper Cleaning
If you’ve done a careful deep clean with the right product, removed the residue, dried it properly — and the floor still looks flat — that generally points to wear-layer deterioration rather than anything sitting on the surface.
At that stage, a professional assessment is worth more than another product. Someone who works with flooring daily can tell you in a few minutes whether you’re looking at wear, damage or something recoverable.
Swollen or Warped Planks
Swelling along edges or a raised, uneven feel underfoot usually indicates moisture has reached the core.
Once HDF has absorbed water and swollen, it doesn’t return to shape as it dries. Affected boards typically need replacing, and it’s worth finding the moisture source before you replace anything — otherwise the new planks go the same way.
Cracked, Chipped or Peeling Surfaces
Cleaning cannot reverse physical damage. Chips, cracks and areas where the wear layer is peeling or lifting are permanent.
Where damage is limited, individual plank replacement often works well. Where it’s widespread, replacement of the floor usually delivers a better long-term result than an ongoing series of patches.
Repeated Damage in High-Traffic Areas
If one area keeps failing — the entry, the kitchen, the hallway — it’s worth asking whether the flooring is the right match for that space.
Some rooms simply demand more than a given product can deliver. When replacement time comes around, that’s the moment to reconsider the specification rather than repeat it.
Should You Restore or Replace Your Laminate Flooring?
Restore When the Floor Is Structurally Sound
Restoration is the right call when:
- Dullness is caused by residue or build-up
- The problem is surface dirt
- There are minor scuffs and light marks
- Planks are flat, tight at the joints and free of swelling
- The floor is generally in good condition and just looks tired
This describes most floors people ask us about. A proper clean and a residue pass fixes them.
Replace When the Flooring Is Severely Damaged
Replacement makes more sense when you’re dealing with:
- Water damage
- Warping or cupping
- Significant wear through the protective layer
- Extensive scratching across a broad area
- Damaged or separating joints, or planks that have started to lift
If several of those apply at once, continuing to restore usually costs more in time and product than it returns.
Consider Other Flooring Options for Your Lifestyle
If you do reach replacement, it’s a good moment to reassess rather than default to like-for-like.
| Option | Suits |
| Laminate | Living areas and bedrooms; strong scratch resistance and good value; not for wet areas |
| Hybrid flooring | Busy households and moisture-prone areas; rigid core with good water resistance |
| Vinyl flooring | Kitchens, laundries and bathrooms; water-resistant, softer and quieter underfoot |
| Engineered timber | Real timber surface with more stability than solid; can be refinished depending on the wear layer |
| Carpet | Bedrooms, lounges and stairs; warmth, comfort and acoustic softening |
The right choice depends on the room, the traffic it takes, moisture exposure, budget and the look you’re after. There’s no single best floor — only the best floor for a particular space.
Our full laminate flooring Gold Coast range is a good starting point if laminate still suits, and we’re happy to talk through alternatives if it doesn’t.
Frequently Asked Questions About Restoring Laminate Floors
How do I make my laminate floors shine again?
Remove what’s dulling it rather than adding shine on top. Vacuum thoroughly, deep clean with a laminate-safe cleaner used sparingly, remove the residue with a clean damp microfibre pad, dry the floor completely, then buff gently with dry microfibre. Most floors improve significantly with that sequence alone.
Can I use floor polish on laminate flooring?
Generally no. Traditional floor polish is formulated for timber and other surfaces that accept a coating. Laminate already has a factory-applied wear layer, so polish tends to sit on top, build up and go cloudy. Some products marketed specifically as laminate restorers exist — confirm compatibility with your flooring manufacturer before using one.
Can you restore dull laminate flooring?
In most cases, yes — provided the wear layer is intact. Dullness caused by residue, dirt or fine scratching usually responds well to proper cleaning. Dullness caused by the wear layer being worn through can’t be restored by cleaning, and replacement is the realistic option.
How do you remove haze from laminate floors?
Haze is almost always cleaning product build-up. Clean the floor with the correct laminate cleaner at the recommended dilution, then go over it again with a clean, barely damp microfibre pad to lift the residue, and dry it thoroughly. Don’t add more product to a hazy floor — that’s what caused it.
Can you wax laminate flooring?
It’s not recommended. Wax doesn’t bond to laminate’s sealed surface, so it builds up, changes the intended finish, traps dirt and makes future cleaning harder. Removing built-up wax later is a difficult job.
Can you use vinegar to clean laminate floors?
It’s a popular tip, but many laminate manufacturers advise against acidic cleaners because repeated use can affect the finish over time. Some allow a heavily diluted solution; others exclude it entirely. Check your manufacturer’s care guide — and if you’re not sure, a purpose-made laminate cleaner is the safer choice.
Can you use a steam mop on laminate flooring?
Only if your flooring manufacturer specifically approves it. Steam combines heat and moisture under pressure, which can force water into plank joints and contribute to swelling or layer separation. A number of manufacturers exclude steam cleaning from warranty cover, so confirm before using one.
Can scratched laminate flooring be restored?
Light surface scuffs often clean away, and shallow scratches can be improved with a manufacturer-approved repair kit and careful colour matching. Deeper scratches that cut through the wear layer into the printed décor can’t be repaired — laminate can’t be sanded and recoated — so replacing the affected plank is usually the better outcome.
How often should laminate floors be deep cleaned?
For most households, every three to six months, alongside regular sweeping or vacuuming and weekly damp mopping. High-traffic homes and commercial spaces may need it more often. Avoid over-cleaning — each wet clean is another opportunity for residue and moisture at the joints.
When should laminate flooring be replaced instead of restored?
When the damage is structural rather than cosmetic: swollen or warped planks, water damage at the edges, a wear layer that’s worn through or peeling, deep gouges, or joints that have separated. Persistent dullness that survives a proper deep clean also points toward replacement.
Talk to the Gold Coast Flooring Experts at Award Carpets
If you’ve worked through a proper clean and your laminate still isn’t looking right, it’s usually worth a second opinion before spending more on products.
We’ve been supplying and installing flooring on the Gold Coast for over 30 years as an independent, family-run business. That means we’ve seen a lot of laminate floors — the ones that just needed a good clean, and the ones that had reached the end of their working life. We’re generally happy to tell you which is which, even when the answer is “leave it alone, it’s fine.”
If replacement does turn out to be the right call, we stock leading Australian brands alongside boutique lines you won’t come across everywhere, and our own team handles flooring installation Gold Coast wide — so there’s no chasing subcontractors if something needs sorting.
Come and see us in the showroom, browse the range online, or give our team a call and book a free measure and quote. No pressure either way — sometimes the best advice is that your floor has a few more good years in it yet.