
Noticing a scratch across an otherwise good-looking floor is one of those small frustrations that can feel bigger than it probably is. Laminate flooring is designed to handle everyday life — foot traffic, furniture, the occasional dropped item — but over time, furniture movement, pet activity, footwear and tracked-in grit can all leave their mark.
Before reaching for a repair kit, it helps to take a closer look at what you’re actually dealing with. Not every mark on a laminate floor is a genuine scratch, and not every scratch needs the same fix.
There are a few different types of surface damage worth distinguishing:
- Scuff marks — surface marks left by shoes, rubber soles or dragged objects that sit on top of the laminate rather than cutting into it.
- Surface scratches — fine scratches that have affected the protective wear layer but haven’t reached the decorative image beneath.
- Scratches through the wear layer — damage that has cut through the clear protective coating and into the printed decorative surface.
- Deep gouges — deeper damage with clearly visible material beneath, which may be felt with a fingernail.
- Chipped or damaged plank edges — physical chips, cracks or damage around the board edges or click-lock joints.
The appropriate response depends on which type of damage you’re looking at. A scuff mark that wipes away with the right cleaner is a different problem from a gouge that has exposed the core of the board.
This article covers how to identify the type of damage, how to clean and prepare the area, which minor-scratch repairs are appropriate, when DIY isn’t the right call, and how to prevent scratches from occurring in the first place.
Can Scratched Laminate Flooring Be Repaired?
Quick answer: Light scratches in laminate flooring can often be disguised or repaired using a laminate repair kit, colour-matched wax filler or touch-up marker. Deeper scratches, chips or damage through the decorative layer may require replacement of the affected plank.
Laminate flooring is a layered product. From top to bottom, it typically consists of:
- A protective wear layer — a clear, hardened coating that resists scratches and stains.
- A decorative image layer — a high-resolution print that gives the floor its timber, stone or other visual appearance.
- A core layer — usually a high-density fibreboard (HDF) that provides structural rigidity.
- A backing layer — which helps stabilise the board and resist moisture from below.
When a scratch only affects the wear layer, the decorative print beneath is still intact. In these cases, cosmetic repair is often achievable. When damage has cut through the decorative layer and into the core, the visual effect is harder to disguise, and structural repair isn’t really possible the way it might be with solid timber.
This is an important distinction. Laminate flooring generally cannot be sanded back and refinished the way some hardwood floors can. The decorative print is not a stain applied to solid wood — it is a manufactured image layer, and once it is substantially damaged, it cannot be restored by sanding.
The practical goal of most laminate scratch repairs is to make the damage far less noticeable, not to make it literally disappear.
What Types of Scratches Can Usually Be Repaired?
- Very light surface scratches
- Small scuffs that may wipe away with cleaning
- Fine scratches affecting the appearance of the wear layer
- Small, isolated scratches across a single area
- Minor colour loss where the decorative layer is still intact underneath
When Is a Laminate Scratch Too Deep to Repair?
Some types of damage are beyond the reach of DIY touch-up products. Signs that a scratch may be too deep to repair cosmetically include:
- The scratch exposes visible pale or brown core material
- The decorative print inside the scratch has been damaged
- The groove is deep enough to clearly catch a fingernail
- Plank edges are chipped or physically broken
- Cracks run across or along the board
- Damage has occurred around the click-lock joints
- The board shows swelling, lifting or signs of moisture damage
- Multiple planks are affected or surface wear is widespread
In these situations, plank replacement is often the more practical path.
What Causes Scratches in Laminate Flooring?
Understanding what causes scratches helps inform both repairs and prevention.
Dragging Furniture Across the Floor
Chairs, tables, sofas, cabinets, beds and heavy appliances are among the most common culprits. The problem is often made worse by small particles — grit, sand or debris — trapped beneath furniture legs, which act as abrasives against the surface. Even lightweight furniture can cause fine scratching over time if moved regularly without protection.
Grit, Sand and Dirt
For Gold Coast households, this is a particularly relevant cause. Sand and grit tracked in from beaches, outdoor areas and driveways act as fine abrasives when walked across laminate. Entry points, hallways and high-traffic areas are typically where this kind of wear shows up first.
Pet Claws
Dogs and cats can create fine surface scratches, particularly in areas where they frequently run, change direction or stop suddenly. Active pets on laminate flooring will generally leave some marks over time.
Shoes and Hard Footwear
High heels, hard-soled shoes and footwear with small stones or debris caught in the tread can all cause surface damage. Even standard shoes can carry abrasive particles indoors from driveways and paths.
Moving Objects and Household Items
Toys, storage boxes, plant pots, office chairs with hard casters and exercise equipment can all create scratches — either by being dragged or by catching the surface during use. Office chairs are a particularly common cause in home office areas.
What You Need to Repair Scratches in Laminate Flooring
Before starting any repair, it helps to have the right materials on hand.
Basic Cleaning Supplies
- Microfibre cloth
- Soft-bristle broom or hard-floor vacuum attachment
- Laminate-safe cleaner
- Clean water where appropriate
Laminate Repair Products
There are several types of products that may be useful, depending on the nature of the damage. No single product suits every floor or every scratch, so it’s worth understanding the options:
- Laminate repair kit — typically includes colour-matched wax or putty and is designed to fill minor scratches and surface damage.
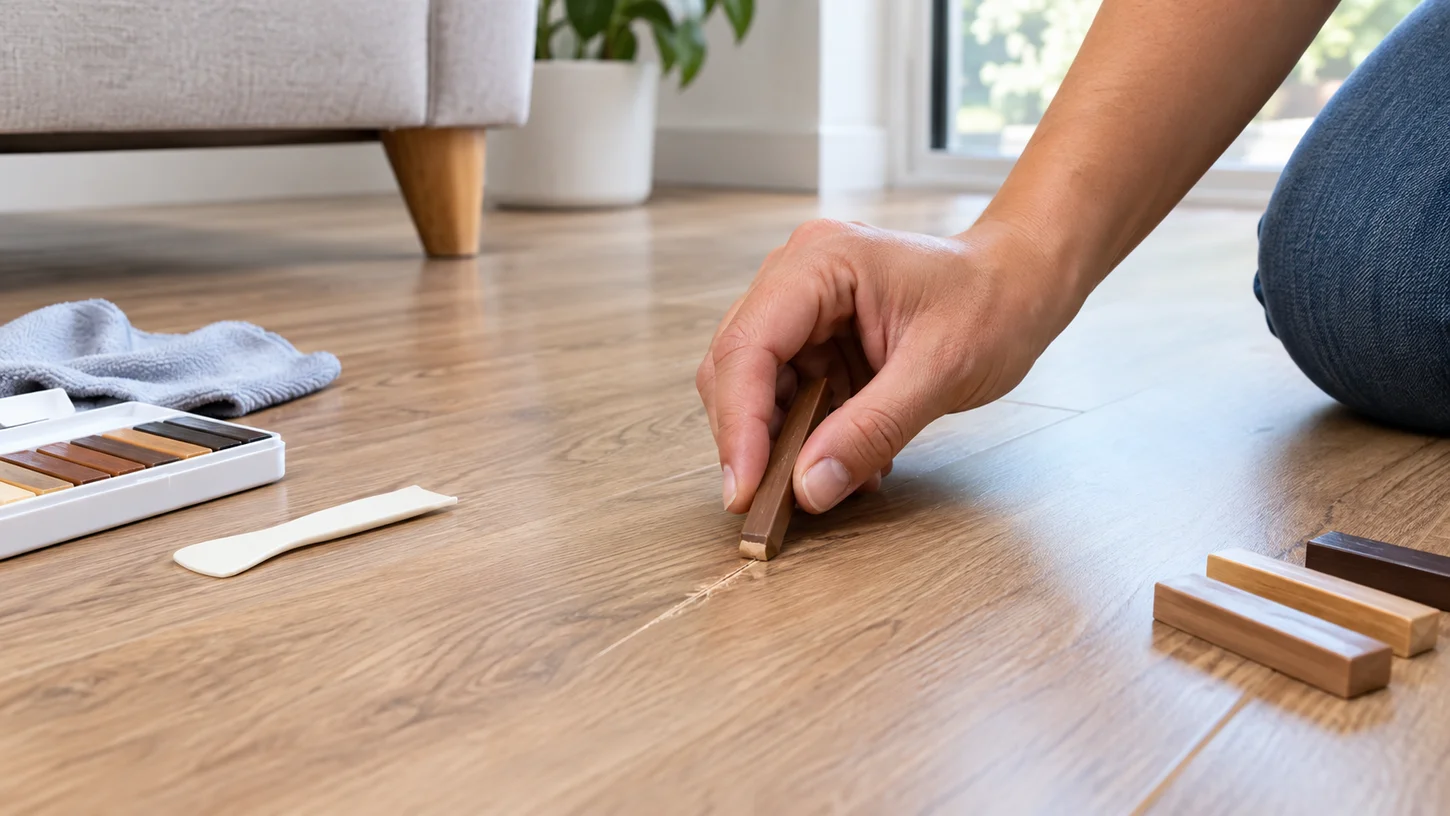
- Wax repair sticks — similar to a crayon in format, used to fill and disguise surface damage.
- Colour-matched filler — a paste or putty that can be pressed into the damaged area.
- Touch-up markers — useful for fine scratches and small areas of colour loss.
- Manufacturer-approved repair products — some flooring brands offer their own repair solutions compatible with their product.
Important: Always check that any repair product is compatible with your specific laminate flooring and follow the manufacturer’s instructions. Test the product in an inconspicuous area first — inside a wardrobe or behind a door — before applying it to a visible section of floor.
Optional Tools
- Plastic scraper or spatula
- Soft cloth for buffing
- Fine applicator for precise application
- Disposable gloves
How to Repair Scratches in Laminate Flooring Step by Step
Step 1: Identify How Deep the Scratch Is
Before reaching for any product, inspect the damage properly under good lighting — ideally natural light or a torch held at a low angle to the floor.
Check the following:
- Is it a surface mark that might wipe away, or a genuine scratch?
- Can you feel the scratch by running a fingernail gently across it?
- Does the decorative pattern appear intact inside the scratch?
- Is there a pale or brown colour visible, suggesting the core has been exposed?
- Is the plank cracked or chipped?
Identifying the type of damage first avoids using a more aggressive repair method than the situation calls for and helps set realistic expectations about the result.
Step 2: Clean the Scratched Area
Remove dust, sand and grit before attempting any repair. Grit caught beneath a repair product can cause additional scratching or affect how the product adheres.
- Sweep or vacuum the area using a soft-bristle brush or hard-floor attachment.
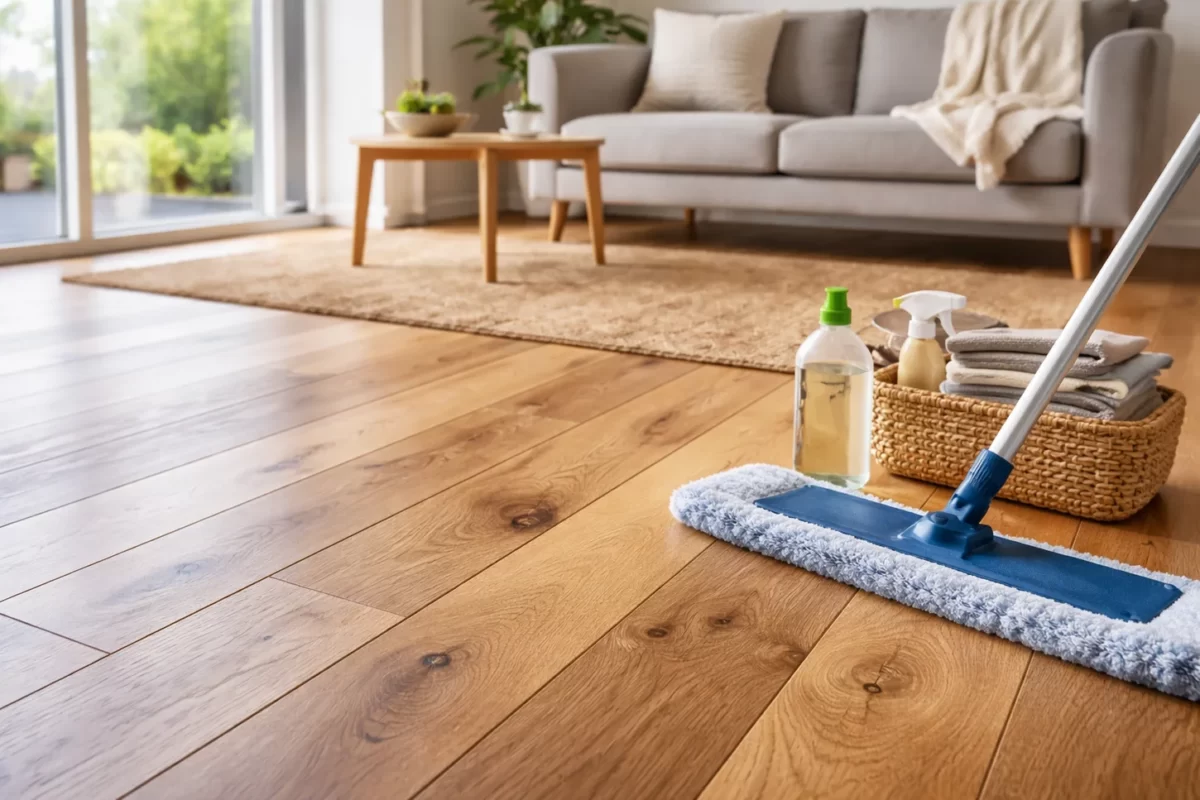
- Wipe the scratch and surrounding area with a clean, slightly damp microfibre cloth.
- Use a laminate-safe cleaner if residue is present.
- Allow the area to dry completely before proceeding.
Do not attempt any repair over a dirty or damp surface.
Step 3: Try Removing the Mark if It Is Only a Scuff
Some marks that appear to be scratches are actually surface scuffs — residue from shoes, rubber soles or dragged objects sitting on top of the laminate finish rather than cutting into it.
Wipe the area gently with a microfibre cloth and a small amount of laminate-safe cleaning product. Avoid aggressive scrubbing, abrasive pads or steel wool, which can create additional surface damage.
If the mark disappears or substantially reduces with light cleaning, no further repair is needed. If it remains after gentle cleaning, treat it as genuine surface damage and move to the next step.
Step 4: Choose a Colour-Matched Repair Product
Colour matching is one of the most important parts of a laminate scratch repair. A repair that is noticeably lighter or darker than the surrounding floor can draw more attention than the original scratch.
When selecting a product:
- Match the base colour of the laminate as closely as possible.
- Consider grain direction and variation if the floor has a timber-look pattern.
- Account for light and dark streaks that may be present in the decorative print.
- Test the product in an inconspicuous area first to check the colour match before applying it to a visible location.
If you kept spare laminate planks from the original installation, these are a useful reference for colour matching — and some repair products can be blended to get closer to the original tone.
Step 5: Apply a Laminate Repair Wax or Filler
Repair products vary significantly in format and application method, so always follow the specific instructions that come with the product. As a general guide:
- Prepare the repair material as directed.
- Apply only enough product to fill or disguise the damaged area — avoid spreading excess product across surrounding boards.
- Allow the product to set for the time recommended by the manufacturer.
- Carefully remove any excess filler with a plastic scraper, being careful not to drag the product into the surrounding surface.
- If the product instructions permit, buff the repaired area gently with a clean soft cloth.
The goal is to minimise the visibility of the scratch, not to create a perfect invisible repair. Most laminate scratch repairs are cosmetic rather than structural.
Step 6: Use a Touch-Up Marker for Fine Scratches
Touch-up markers can be a good option for fine surface scratches or small areas of colour loss, particularly on timber-look laminate where the printed grain is a prominent part of the appearance.
If using a marker:
- Choose a shade that closely matches the base colour and grain of the floor.
- Work carefully along the direction of the grain rather than simply drawing a straight line across the scratch, which can make the repair more noticeable.
- Apply lightly and build up coverage gradually if needed.
- Test on a hidden area first.
Step 7: Check the Finished Repair
Once the repair product has been applied and allowed to set, inspect the result from several angles. Lighting conditions affect how visible a scratch appears, so check under both artificial light and natural light.
- Look for any remaining visibility of the scratch.
- Check that no excess filler has been left on the surrounding boards.
- Allow any product that requires curing time to fully set before the area returns to normal use.
The realistic objective is to make the damage far less noticeable, not to eliminate all trace of it. For fine surface scratches, a well-matched repair will often be invisible under normal viewing conditions. Deeper repairs may remain slightly visible up close.
How to Repair Deep Scratches in Laminate Flooring
Deep scratches present a more difficult challenge, and it’s worth understanding the limitations before attempting a cosmetic fix.
How to Tell If a Scratch Has Gone Through the Wear Layer
Signs that a scratch has penetrated beyond the surface include:
- A different colour visible inside the scratch — typically a lighter or beige-brown tone that doesn’t match the decorative print
- Visible damage to the printed pattern inside the scratch
- Exposed pale or brown core material
- Rough or raised edges around the scratch
- A deep groove that can be clearly felt rather than just seen
Why Deep Laminate Scratches Are More Difficult to Repair
Laminate flooring is a layered manufactured product. The decorative image is a printed layer — not a stained or painted timber surface. Once the decorative layer has been substantially damaged, a colour-matched filler may reduce the visual impact of the scratch but cannot restore the original printed pattern. What a repair product achieves is disguise, not restoration.
Can You Sand a Scratched Laminate Floor?
No — conventional sanding is generally not an appropriate repair method for laminate flooring. Unlike some solid timber floors, which can be sanded back to bare wood and refinished, laminate cannot be treated this way. Sanding laminate can quickly remove or damage the protective wear layer and the decorative print beneath it, potentially making the affected area look worse.
This is one of the key differences between laminate and engineered or solid timber flooring. If refinishing capability is a priority, it’s worth factoring that into flooring decisions from the outset.
How to Replace a Damaged Laminate Plank
When cosmetic repair isn’t a practical option, replacing the affected plank is often the better outcome — particularly for damage that has gone through the decorative layer, significant gouging or physical damage to the board itself.
When Plank Replacement Makes More Sense
Plank replacement is generally worth considering when:
- Deep gouges are visible and can’t be effectively disguised
- Severe scratches have damaged the decorative surface
- Plank edges are chipped or physically broken
- The board shows signs of moisture damage, swelling or lifting
- Surface damage is extensive across one or more planks
- Multiple planks in the same area are affected
Why Keeping Spare Laminate Planks Is Useful
If you have leftover planks from the original installation, keep them. Spare planks from the same batch are the easiest way to achieve a colour match for future repairs, and they confirm the exact product specification. This is particularly useful when the floor has been installed for some time and the original product line may have changed or been discontinued.
Can Individual Laminate Planks Be Replaced?
It depends. Replacing an individual laminate plank is possible in many situations, but the practicality depends on:
- The click-lock system used in the installation
- Where the damaged plank is located (central planks are generally more complex to access than planks near walls or doorways)
- Whether surrounding boards can be unlocked and lifted without damage
- The overall installation method
Some laminate floors allow individual planks to be removed and replaced with relative ease. Others — particularly floors with glued joints or planks in inaccessible positions — may require more significant work. It’s not safe to assume that every laminate floor allows straightforward single-plank replacement.
When to Get Professional Help
Consider getting professional advice when:
- You’re not certain what product is installed
- The damage is extensive across multiple boards
- The flooring is still under warranty
- The damaged plank is in a difficult-to-access location
- There is any suspected moisture damage beneath or around the boards
- Multiple planks are affected and replacement may be more practical than individual repairs
Award Carpets’ flooring installation Gold Coast team can help assess whether a repair or replacement is the more practical option for your situation.
What Not to Use on Scratched Laminate Flooring
Some common DIY instincts can cause more harm than the original scratch. It’s worth knowing what to avoid before attempting any repair.
Don’t Sand the Surface
As covered above, sanding is not appropriate for laminate. It removes the protective wear layer and can damage the decorative print beneath.
Don’t Use Steel Wool or Abrasive Scouring Pads
Abrasive pads and steel wool can create additional fine scratches across the surrounding surface, turning a small isolated mark into a larger damaged area.
Don’t Apply Wax or Oil-Based Products Unless the Manufacturer Allows It
Some wax and oil-based products can leave a residue on laminate, alter the surface appearance or interfere with future cleaning. Unless your laminate flooring’s manufacturer specifically recommends a product of this type, it’s best avoided.
Don’t Use Excessive Water
Laminate can be vulnerable to moisture entering the joints and edges of boards, which can cause swelling and lift. When cleaning or repairing a scratched area, use water sparingly and ensure the surface is dry before applying any repair product.
Don’t Use a Magic Eraser Aggressively
Magic erasers are mildly abrasive, and aggressive rubbing can dull or damage the finish on laminate flooring. If used at all, they should be applied very gently and tested in a hidden area first.
Don’t Use a Generic Timber Floor Repair Method Without Checking Compatibility
Laminate flooring is not the same as solid timber. Products designed for hardwood or engineered timber may not be appropriate for laminate and may not produce the expected result — or could cause surface damage.
How to Prevent Scratches on Laminate Flooring
Preventing scratches is significantly easier than repairing them, and a few consistent habits go a long way.
Use Felt Pads Under Furniture
Fit felt pads or floor protectors to the base of chairs, tables, cabinets, bed legs and any other furniture that sits on laminate. Check and replace these pads periodically — worn pads or pads that have collected grit beneath them can cause more damage than bare furniture legs.
Lift Furniture Instead of Dragging It
Wherever possible, lift furniture rather than dragging it across the floor. For heavy items, use furniture sliders to reduce friction and risk of surface damage. Get assistance with larger pieces rather than trying to push them across the floor alone.
Use Mats at Entry Points
A mat at each external doorway catches sand, grit and moisture before they reach the floor. For Gold Coast homes with direct access to outdoor areas or proximity to beaches, this is one of the most effective single steps for protecting laminate. Sliding doors and back entrances that open onto outdoor areas deserve particular attention.
Keep Floors Free of Sand and Grit
Sweep or vacuum laminate floors regularly using a soft-bristle broom or a vacuum with a hard-floor attachment. Avoid using beater-bar attachments, which can scratch the surface. Pay particular attention to entry areas where grit is most commonly tracked in.
Keep Pet Nails Trimmed
Regular nail trimming for dogs can help reduce the fine surface scratching that pet activity creates over time, particularly in areas where animals run or change direction.
Use Rugs in High-Traffic Areas
Rugs and runners provide an extra layer of protection in hallways, living areas, under dining tables and in pet activity zones. Use rug pads underneath to prevent movement.
Clean Spills Promptly
While preventing scratches is the primary concern here, prompt spill management is also relevant. Moisture sitting on or near laminate joints can cause swelling over time, which creates a different type of surface problem. Wipe up spills quickly rather than allowing liquid to sit.
How to Protect Laminate Flooring in Gold Coast Homes
The Gold Coast lifestyle creates a few specific conditions that are worth accounting for when it comes to floor care.
Managing Sand From Beaches and Outdoor Areas
Sand is an effective abrasive, and it’s a reality for many Gold Coast households — particularly those close to the beach or with large outdoor living areas. Practical steps include:
- Entry mats at all external doors
- A shoes-off habit near entry points where practical
- Regular sweeping, especially around sliding doors
- Extra attention to high-traffic paths between outdoor and indoor living areas
Managing Humidity and Moisture
The Gold Coast climate brings periods of high humidity, which are worth factoring into laminate floor care. Keep rooms adequately ventilated where possible, wipe up spills quickly, and use water sparingly when cleaning. Watch for any changes around board joints — swelling or lifting around edges can indicate moisture has entered.
Choosing Laminate for Busy Households
Modern laminate flooring has improved considerably in durability and surface resistance. It remains a practical and popular choice for families, pet owners, rental properties and busy living areas where a combination of appearance and practical performance matters.
Award Carpets’ Clix Laminate Flooring range features a durable, scratch- and stain-resistant surface suited to family and pet-friendly applications — making it a practical option for Gold Coast homes where floors get a genuine workout.
When Should You Repair or Replace Laminate Flooring?
The following table provides a practical reference for common types of damage and the typical approach.
| Problem | Likely approach |
| Light scuff | Clean gently — may not require any repair product |
| Fine surface scratch | Touch-up marker or repair kit with a good colour match |
| Small area of colour loss | Colour-matched marker or filler |
| Deep scratch | Assess whether cosmetic repair will achieve a satisfactory result |
| Deep gouge | Consider plank replacement |
| Chipped board edge | Plank replacement is likely appropriate |
| Exposed core material | Replacement rather than surface repair |
| Swollen or lifting plank | Investigate moisture source and consider replacement |
| Widespread surface scratching | Assess overall floor condition |
| Multiple damaged planks | Professional assessment may be worthwhile |
The extent of damage matters more than any individual problem. A single fine scratch and widespread surface deterioration across a high-traffic area call for very different responses.
Should You Repair Scratched Laminate Flooring Yourself?
DIY Repair May Be Suitable When
- The damage is minor — a fine scratch or scuff in a limited area
- Only one or two isolated spots are affected
- A good colour match is available for the repair product
- The floor is otherwise structurally sound
- You’re comfortable reading and following the repair product instructions
- You’ve tested the product in a hidden area and the result is acceptable
Professional Advice May Be Better When
- The scratch is deep or has gone through the decorative layer
- Several planks are affected
- There is any sign of water damage or swelling
- The flooring is older or the product line may have been discontinued
- You’re not sure what type of laminate flooring you have
- You’re weighing whether to repair or replace a section of the floor
When It’s Time to Consider New Flooring
Most scratches don’t require new flooring, but there are situations where a floor has reached the point where ongoing repairs no longer make practical sense. Signs that the floor may warrant broader assessment include:
- Widespread surface deterioration that can’t reasonably be addressed with touch-up products
- Repeated repairs across multiple areas
- Significant swelling, lifting or failing joins
- Multiple damaged boards that would require extensive plank replacement
- Major fading or wear across a large area
- A renovation or style change where replacing the floor makes sense as part of the overall project
If the laminate floor has reached this point, there are several flooring options worth considering:
Laminate Flooring
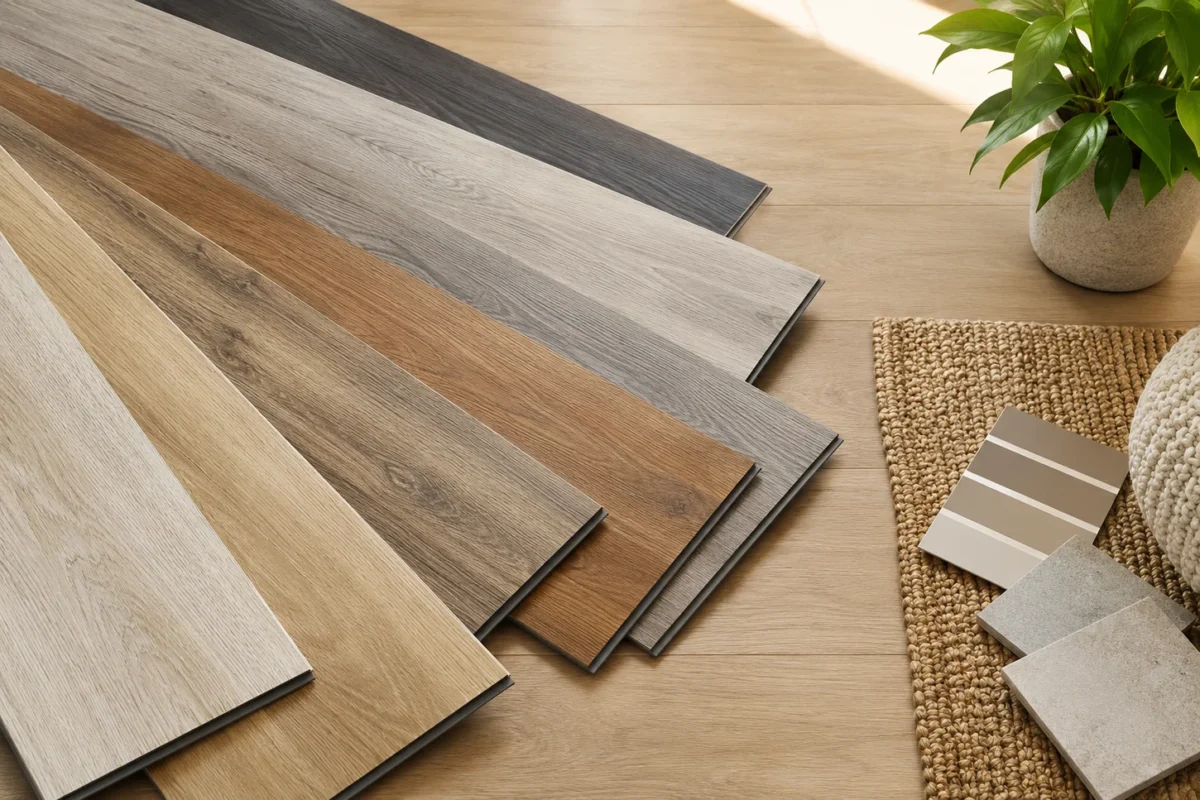
A new laminate floor offers a timber-look appearance across a wide range of décors and is a practical everyday flooring option for dry living areas. Modern laminate has improved surface durability compared to older products. Visit the laminate flooring section for more on where laminate suits different rooms in the home.
Hybrid Flooring
Hybrid flooring has a different construction to laminate and is often considered by homeowners looking for a more moisture-resistant alternative. It shares a timber-look appearance with laminate but uses a rigid composite core that performs differently in wet-area adjacent spaces. It’s not automatically a better product — it’s a different one, suited to different circumstances.
Vinyl Flooring
Vinyl is worth considering in areas where moisture is more of a concern or where budget is a primary factor. It’s available in a range of styles and offers a practical, low-maintenance floor for various parts of the home.
Engineered Timber Flooring
Engineered timber has a genuine hardwood surface layer over a stable engineered core. Unlike laminate, some engineered timber floors can be lightly sanded and refinished over their lifespan, which is a meaningful difference if longevity and repairability are priorities. The trade-off is typically a higher upfront cost.
Frequently Asked Questions About Repairing Laminate Flooring
Can you fix scratches in laminate flooring?
Minor scratches can often be disguised or repaired cosmetically using a colour-matched repair kit, wax filler or touch-up marker. Deeper scratches, damage through the decorative layer or physical damage to the plank may require replacement of the affected board.
What is the best way to repair a scratch in laminate flooring?
The appropriate method depends on how deep the scratch is. Start by cleaning the area thoroughly, then assess the damage. For fine surface scratches, a colour-matched touch-up marker or repair kit is generally the right approach. For deeper damage, a filler product may reduce the visibility but may not fully disguise the scratch.
How do you fix deep scratches in laminate flooring?
Deep scratches — particularly those that have exposed the core material — are difficult to repair cosmetically. A compatible filler may reduce the visual impact, but once the decorative layer is substantially damaged, plank replacement is often the more practical outcome.
Can you use a laminate repair kit on scratched flooring?
Yes, where the repair kit is compatible with your specific laminate floor and appropriate for the type of damage you’re dealing with. Always check the product instructions and test in an inconspicuous area before applying it to a visible section.
Can scratched laminate flooring be sanded?
Generally, no. Sanding is not an appropriate repair method for laminate flooring. Unlike solid timber, laminate cannot be sanded back and refinished — the process removes the protective wear layer and can damage the decorative image print beneath it.
How do you remove surface scratches from laminate flooring?
First check whether the mark is a genuine scratch or a surface scuff. Some marks will wipe away with a laminate-safe cleaner and a soft cloth. For genuine surface scratches, a colour-matched touch-up marker or repair kit applied carefully along the direction of the grain will generally produce the best result.
Can toothpaste remove scratches from laminate flooring?
Toothpaste is sometimes suggested as a DIY scratch remedy, but it is an abrasive product and is not designed for use on laminate surfaces. Using an abrasive compound on laminate risks damaging the wear layer rather than improving it. A product designed for laminate repair is the more appropriate option.
Can you use a furniture marker on laminate flooring?
A furniture marker can help disguise very small areas of colour loss, but it should be tested for compatibility on the specific floor surface first. A colour-matched laminate touch-up marker is generally a better option where available, as it is formulated with the surface finish of laminate in mind.
How long does laminate flooring last?
There’s no single answer — lifespan varies based on product quality, traffic levels, maintenance habits, installation quality and moisture exposure. Quality laminate installed in an appropriate environment and well maintained can last many years; laminate installed in a high-traffic area with poor care or moisture exposure may show significant wear sooner. Check the wear rating and warranty of the specific product you’re working with.
Can you replace just one piece of laminate flooring?
It depends on the installation system and the location of the damaged plank. Some laminate floors allow individual planks to be removed and replaced without disturbing surrounding boards. Others — particularly those with glued joints or planks in the centre of a large room — may require more extensive work to access the damaged board.
Is it cheaper to repair or replace laminate flooring?
For minor cosmetic damage in a small area, a repair kit is significantly more cost-effective than replacement. For extensive damage across multiple boards, or where the floor has deteriorated broadly, replacement may ultimately be more practical than ongoing spot repairs. The extent and nature of the damage should guide the decision.
Final Thoughts on Repairing Scratched Laminate Flooring
The first step with any laminate scratch is identifying exactly what type of damage you’re dealing with. Light surface marks and scuffs can often be addressed with careful cleaning, and fine scratches can frequently be made significantly less noticeable with the right colour-matched repair product.
Deeper damage — particularly anything that has exposed the core material, involves physical damage to the plank or shows signs of moisture — generally calls for plank replacement rather than a surface fix. And where damage is widespread or the floor is showing signs of age across a larger area, it may be time to assess whether a full replacement makes more practical sense.
Prevention remains the most effective strategy. Felt pads under furniture, regular sweeping to remove sand and grit, entry mats, trimmed pet nails and careful furniture movement all reduce the rate at which laminate accumulates scratches over time.
If you’re not sure whether your laminate can be repaired or whether replacement is the better option, it’s worth getting a professional opinion before investing in products or going too far with a DIY approach.
The team at Award Carpets Gold Coast can help you assess your flooring and, where replacement makes sense, explore laminate and alternative flooring options suited to your home. As a family-owned business with more than 30 years of experience supplying and installing laminate, hybrid, vinyl, timber and carpet flooring on the Gold Coast, they’re well-placed to give you a straightforward assessment.
Award Carpets Gold Coast: Laminate Flooring Advice You Can Trust
Whether you’re dealing with a minor surface scratch or reconsidering your floor altogether, getting the right advice from people who know flooring makes the process a lot simpler. Award Carpets Gold Coast has been helping local homeowners with flooring decisions for more than 30 years — from product selection through to supply and installation.
If your laminate floor needs more than a touch-up, the team can walk you through suitable laminate options, discuss how Laminate Flooring performs in family and pet-friendly homes, or help you compare alternatives like hybrid, vinyl and engineered timber.