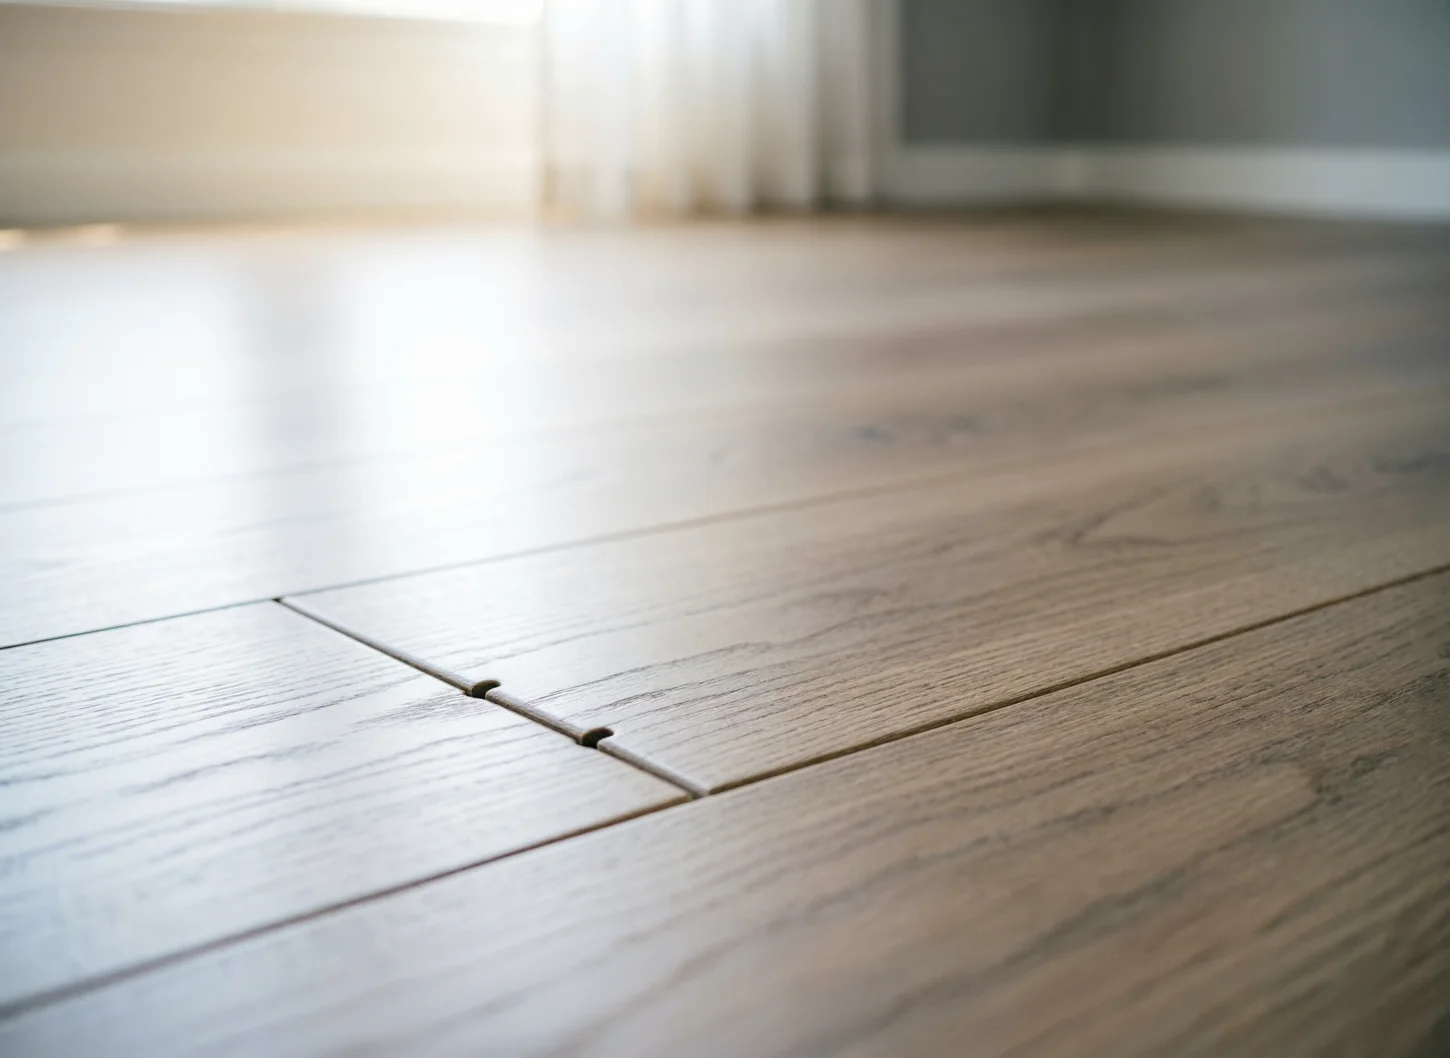

Vinyl flooring is one of the most practical choices for Australian homes—durable, water-resistant, and easy to live with. But even the toughest floors can start to look a little flat over time. If your vinyl has lost its lustre, you’re not alone. A dull vinyl floor is one of the most common complaints homeowners have, and in most cases, it’s completely fixable without pulling everything up and starting again.
The good news is that restoring shine to vinyl flooring usually comes down to understanding why it happened in the first place—and then working through a few simple steps to bring it back. This guide walks you through exactly that, with practical vinyl floor cleaning tips suited to everyday homes.
Why Vinyl Flooring Loses Its Shine
Before diving into fixes, it helps to know what’s actually causing the dullness. More often than not, it’s one of these common culprits.
Dirt and Fine Grit Act Like Sandpaper
Dust and fine particles seem harmless, but when they’re left sitting on your floor and walked over repeatedly, they act like sandpaper on the protective wear layer. Over time, those tiny abrasions add up—and what used to be a glossy surface starts to look scratched and hazy.
Regular sweeping is the single most effective thing you can do to prevent this kind of dullness. It costs nothing and makes a real difference over the long run.
Cleaning Products That Leave a Film
Not all cleaning products are suitable for vinyl, and some of the most common ones actually make things worse. Soap-based cleaners, oil-based products, wax formulas, and so-called “mop and shine” products all leave behind a residue that builds up invisibly over multiple cleans. What looks like dullness is often just a layer of built-up product sitting on top of the floor.
If your floor looks cloudy or streaky even after mopping, this is likely the reason.
Heavy Foot Traffic
High-traffic areas—hallways, kitchens, entryways, and commercial spaces—simply take more of a beating than the rest of the floor. The combination of friction, dirt, and weight gradually wears down the surface sheen. This kind of wear is normal, but it can be slowed significantly with the right maintenance habits.
UV Exposure
Australia’s sun is intense, and Gold Coast homes with large north- or east-facing windows can experience notable fading and surface degradation in areas exposed to direct sunlight. UV rays gradually break down the wear layer of vinyl, leaving those patches looking washed-out and dull compared to the rest of the floor.
Blinds, curtains, or UV-filtering window film can help reduce the rate of fading in sun-heavy rooms.
Age and Normal Wear
Every vinyl floor has a protective wear layer—a clear coating that provides scratch resistance and that characteristic sheen. As the floor ages, that layer naturally thins through use. At a certain point, some degree of dullness is simply part of the floor’s lifecycle rather than something that can be reversed with cleaning alone.
Understanding this distinction matters. Knowing whether you’re dealing with surface build-up or genuine wear layer degradation will help you decide whether maintenance will fix the issue or whether it might be time to consider a replacement.
How to Restore Shine to Vinyl Flooring
Step 1 – Give Your Vinyl Floor a Thorough Clean
Before trying anything else, start with a proper clean. Many floors that look dull simply haven’t been cleaned correctly in a while, and a good clean can make a surprising difference on its own.
Remove Loose Dirt First
Start dry. Use a vacuum on the hard floor setting (not a rotating brush head, which can scratch the surface) or a soft broom or microfibre dust mop to pick up all loose dirt, dust, and debris. Don’t skip this step—mopping over loose grit just spreads it around and can cause more scratching.
Mop Using a pH-Neutral Cleaner
Fill your bucket with warm water and add a pH-neutral cleaner specifically suited to vinyl flooring. If your floor manufacturer has a recommended product, use that. pH-neutral cleaners clean without leaving residue or stripping any existing protective coating.
The key word here is damp—not soaking. A well-wrung mop or microfibre pad is all you need. Excess water sitting on vinyl isn’t just unnecessary; it can work its way into joins and edges over time.
Dry the Floor Properly
After mopping, allow the floor to dry fully before walking on it. If you want to speed things up, a clean dry microfibre mop works well. Proper drying helps prevent water streaks and the kind of residue lines that make a freshly mopped floor look dull all over again.
Step 2 – Remove Built-Up Residue That’s Dulling the Surface
If your floor still looks dull after a thorough clean, product build-up is likely the issue. This is especially common on floors that have been mopped regularly with soap, wax, or multi-surface cleaners.
Identify Product Build-Up
Product build-up often looks like a hazy, slightly sticky film across the surface—particularly visible in raking light or after the floor dries. If wiping a small area with a clean damp cloth picks up a cloudy residue, that’s a good sign the floor needs a deeper strip clean.
Safe Methods for Removing Residue
A diluted solution of warm water and a manufacturer-approved vinyl floor cleaner—applied with a damp mop and followed by a clean-water rinse—can lift a surprising amount of built-up film. For stubborn patches, a small amount of isopropyl alcohol on a soft cloth can help break down waxy residue, though this should be used sparingly and tested in a hidden area first.
Work in sections, rinse thoroughly, and dry as you go.
Avoid Harsh Chemicals
Some cleaning products that are effective on other surfaces can permanently damage vinyl. Avoid:
- Ammonia-based cleaners – They can break down the wear layer over time
- Bleach – Can cause discolouration and surface degradation
- Abrasive powders – Will scratch and permanently dull the surface
- Solvents – Can dissolve the protective coating
- Steam mops – Many vinyl manufacturers specifically advise against steam cleaning, as the heat and moisture can warp or loosen planks and tiles. Check your manufacturer’s guidance before using one.
Step 3 – Buff Away Minor Scuff Marks
Scuff marks—especially black rubber marks from shoes or furniture—are a common source of floor dullness and can usually be dealt with without any specialist products.
Use a Soft Microfibre Cloth
A clean microfibre cloth is the safest starting point for scuff removal. Dampen it slightly and rub the scuff in a circular motion with light pressure. Microfibre is soft enough to avoid further scratching while still providing enough friction to lift most surface marks.
Spot Cleaning Light Scuffs
For more stubborn scuffs, a small amount of baking soda mixed with water into a paste can be applied to the affected area with a soft cloth, then wiped clean. Always follow up with a clean damp cloth to remove any residue, and dry the area thoroughly.
Another option for rubber scuffs specifically is a pencil eraser—surprisingly effective and completely non-abrasive.
When Professional Help May Be Needed
If scuffs are deep, widespread, or part of a larger pattern of surface damage, it may be worth getting a professional assessment. A flooring specialist can advise whether the floor can be restored or whether replacement is a more cost-effective long-term solution.
Can You Use Floor Polish on Vinyl Flooring?
This is one of the most common questions around vinyl floor maintenance, and the answer is: it depends—but usually, no.
Not All Vinyl Floors Are Designed for Polish
Older sheet vinyl flooring sometimes benefited from periodic waxing or polishing to maintain its sheen. But most modern vinyl products—particularly luxury vinyl plank (LVP) and luxury vinyl tile (LVT)—are manufactured with a factory-applied wear layer that doesn’t need or benefit from added polish.
Modern Luxury Vinyl Usually Doesn’t Need Wax
Applying wax or polish to a modern luxury vinyl plank floor can actually make things worse. Most waxes aren’t designed for vinyl’s surface and will leave behind a build-up that causes exactly the kind of dullness you’re trying to fix.
Always Follow Manufacturer Recommendations
Before reaching for any polish or shine-enhancing product, check the care instructions for your specific floor. Manufacturer recommendations are the most reliable guide—using the wrong product can void warranties and cause damage that’s difficult to reverse.
Cleaning Mistakes That Can Make Vinyl Floors Look Dull
Even with good intentions, some common cleaning habits can work against you. Here are the mistakes worth avoiding.
Using Too Much Water
Vinyl is water-resistant, not waterproof in every sense—especially around seams and edges. Flooded mopping doesn’t clean better; it just introduces unnecessary moisture and can leave watermark residue when it dries.
Steam Cleaning
As mentioned above, steam mops are a risk with many vinyl products. The combination of heat and high moisture can cause warping, edge-lifting, and adhesive failure over time. Unless your manufacturer specifically approves steam cleaning, avoid it.
Abrasive Scrub Brushes
Stiff-bristled brushes and abrasive scrubbing pads might shift stubborn stains, but they’ll also scratch the wear layer in the process. Stick to soft cloths, microfibre pads, and soft-bristle brushes for spot cleaning.
Wax Designed for Other Flooring Types
Products designed for timber floors, linoleum, or tile can behave very differently on vinyl. Don’t assume a floor wax or polish is cross-compatible—check the label.
Vinegar Used Too Frequently
Diluted white vinegar is sometimes suggested as a natural floor cleaner, and it can work in a pinch for cutting through residue. However, used too regularly, its acidity can gradually dull the wear layer. It’s not ideal as a routine cleaner for vinyl.
Daily Habits That Keep Vinyl Flooring Looking New
Restoration is useful, but prevention is better. These simple habits make a real difference over the life of your floor.
Sweep Frequently
A quick sweep or dust mop run-over every day—or every couple of days in busy areas—removes the grit and fine particles that cause gradual surface scratching. This is the most impactful single habit for maintaining floor appearance.
Clean Spills Immediately
Vinyl is forgiving with spills, but letting liquid sit—especially in areas where planks or tiles meet—gives moisture a chance to work into joins. A quick wipe is all it takes.
Use Entry Mats
Placing mats at all entry points (inside and out) significantly reduces how much dirt and grit gets tracked across the floor. On the Gold Coast, where sandy feet and damp thongs are part of daily life, a good entry mat setup makes a noticeable difference.
Install Felt Pads Under Furniture
Hard chair legs and furniture feet are a leading cause of scratches and scuff marks on vinyl. Self-adhesive felt pads are inexpensive, easy to apply, and highly effective—worth doing throughout the whole house, not just the rooms you worry about most.
Avoid Dragging Heavy Furniture
Always lift heavy furniture when moving it. Dragging can cause deep gouges in the wear layer that can’t be cleaned away. If you’re rearranging frequently, furniture sliders make the job easier and protect the floor at the same time.
Maintain Indoor Humidity
Extreme humidity fluctuations can affect some vinyl products—particularly those with a rigid core. In Queensland’s humid climate, keeping indoor humidity stable with air conditioning or ventilation helps the floor maintain its integrity and appearance over time.
How to Protect Vinyl Flooring in Busy Gold Coast Homes
Gold Coast homes have some specific challenges when it comes to floor care. Here’s how to manage them.
Managing Sand and Beach Debris
Sand is one of the most abrasive things you can track across a vinyl floor. With beaches and outdoor areas so close in most Gold Coast suburbs, sand tracking is a fact of life. Entry mats, a no-shoes policy indoors, and frequent dry sweeping are your best tools here. A doorstep brush or outdoor mat where shoes are removed before entering can also help significantly.
Pet-Friendly Cleaning Tips
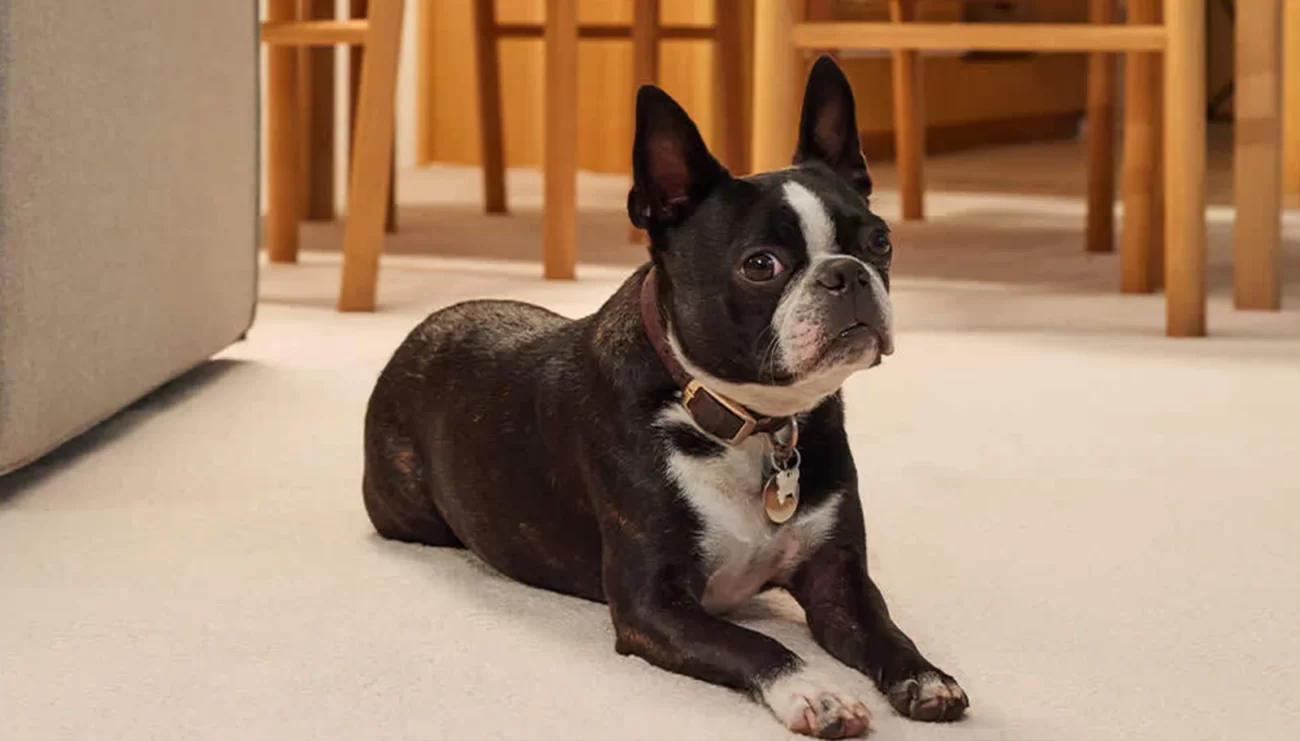
For homes with dogs or cats, keep pet nails trimmed to reduce scratching risk. Wipe paws at the door, particularly after walks or rain. For accidents, clean immediately with a damp cloth and a pH-neutral cleaner—avoid anything containing ammonia, which can react with the enzymes in pet urine and create unpleasant odours.
Protecting Floors From Humidity
Queensland’s humidity is manageable but worth thinking about—particularly in bathrooms, laundries, and open-plan areas near external doors. Ensure the floor has adequate ventilation and that any water intrusion points (around toilets, under dishwashers) are sealed and monitored.
Preventing Furniture Scratches
Beyond felt pads, consider furniture area rugs in dining rooms and living areas where chairs are moved frequently. These protect a large section of floor and are easy to shake out or launder.
When Cleaning Isn’t Enough
Sometimes a floor has moved past the point where cleaning and maintenance can make a meaningful difference. Here’s what to look for.
Signs the Wear Layer Has Been Damaged
If the surface feels rough even after cleaning, or looks consistently cloudy regardless of what you do, the wear layer itself may be compromised. Once the wear layer is gone, the floor loses its ability to repel dirt and moisture effectively.
Deep Scratches
Surface scuffs can usually be buffed or cleaned away. Deep scratches that penetrate through the wear layer and into the vinyl body itself are a different matter—they tend to hold dirt, become more noticeable over time, and can’t be repaired through cleaning.
Fading That Can’t Be Restored
UV-related fading is a physical change to the material, not a surface issue. If large sections of floor have faded and the contrast with unexposed areas is significant, that’s typically a sign that replacement is the practical path forward.
Loose or Lifting Planks
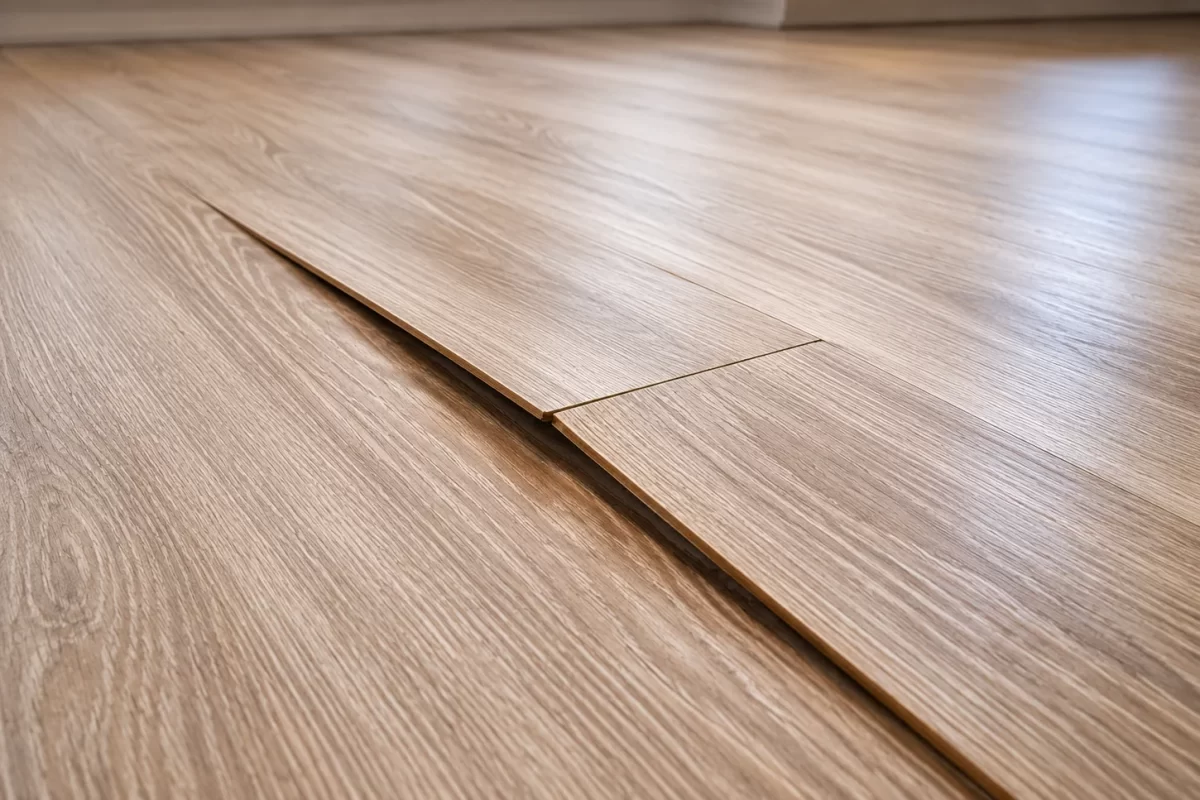
Planks or tiles that are lifting, curling at the edges, or separating at joints indicate an installation or moisture issue that cleaning won’t address. This needs professional attention.
Water Damage
Vinyl resists water at the surface, but prolonged moisture exposure beneath the floor—particularly from plumbing leaks or poor subfloor drainage—can cause bubbling, warping, and adhesive failure. If you notice soft spots or areas that sound hollow, have them assessed.
Is It Time to Replace Your Vinyl Flooring?
If restoration isn’t going to cut it, the silver lining is that today’s vinyl flooring options are significantly better than what was available even five or ten years ago.
Benefits of Modern Luxury Vinyl Flooring
Modern luxury vinyl plank and tile products come with notable improvements over older vinyl:
- Thicker wear layers that last longer and maintain their sheen under heavy use
- Improved scratch resistance that holds up better in homes with kids, pets, or heavy furniture
- Fully waterproof designs suitable for bathrooms, laundries, and wet areas
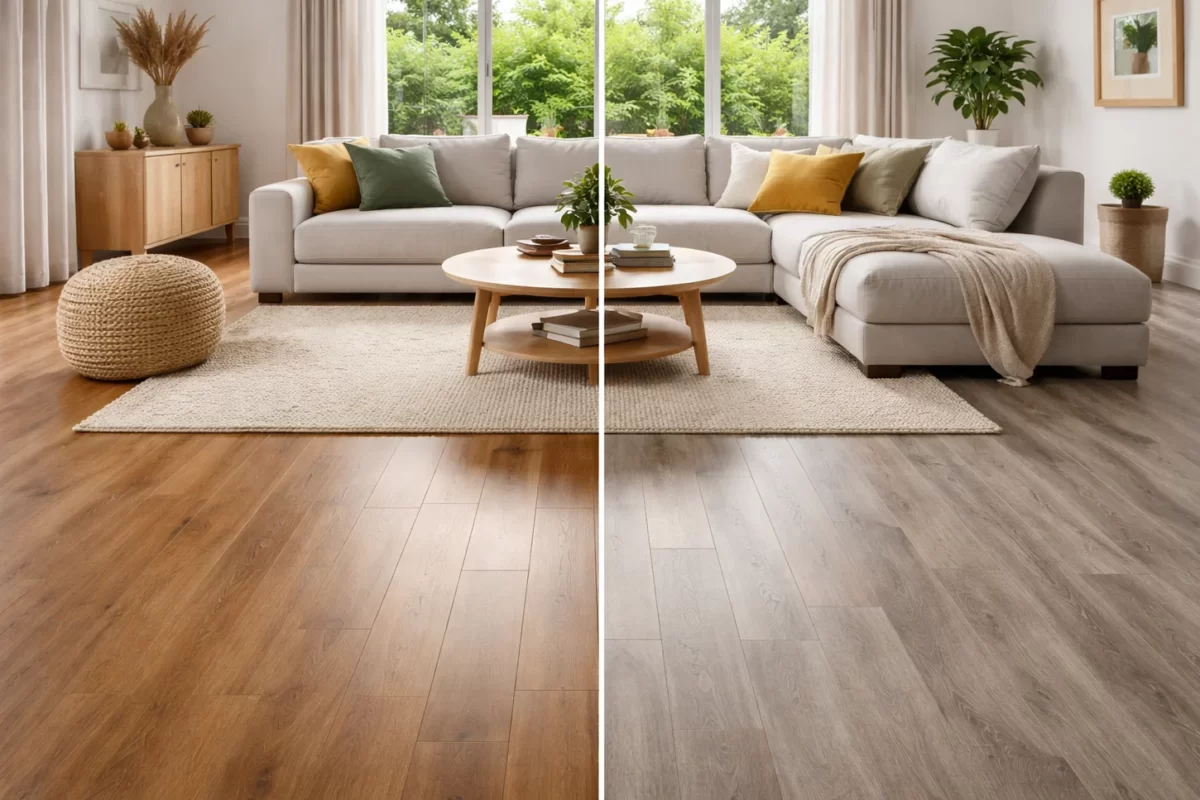
- More realistic timber and stone visuals that are difficult to distinguish from the real thing at a glance
If your current floor is more than 10–15 years old, replacement with a modern product may offer better value than ongoing restoration attempts.
Professional Installation Makes a Difference
A well-installed vinyl floor performs better and lasts longer than one that’s been laid without attention to subfloor preparation and acclimatisation. Professional flooring installation also typically comes with workmanship assurances that give you peace of mind. If you’re considering a replacement, it’s worth getting the installation done properly from the outset.
Vinyl Floor Care the Gold Coast Way: Get It Right with Award Carpets
Keeping vinyl floors looking their best isn’t complicated, but it does require using the right products and avoiding the common mistakes that cause premature dullness and wear. Regular dry sweeping, pH-neutral cleaning, prompt spill management, and a few protective habits will take most floors a long way.
If you’re not sure whether your vinyl flooring needs restoration or replacement—or if you’d like to explore what modern options look like—the team at Award Carpets Gold Coast is happy to help.
We’ve been working with Gold Coast homeowners for over 30 years, and we know what holds up in this climate and this lifestyle. Come in for a chat or give us a call to get started.